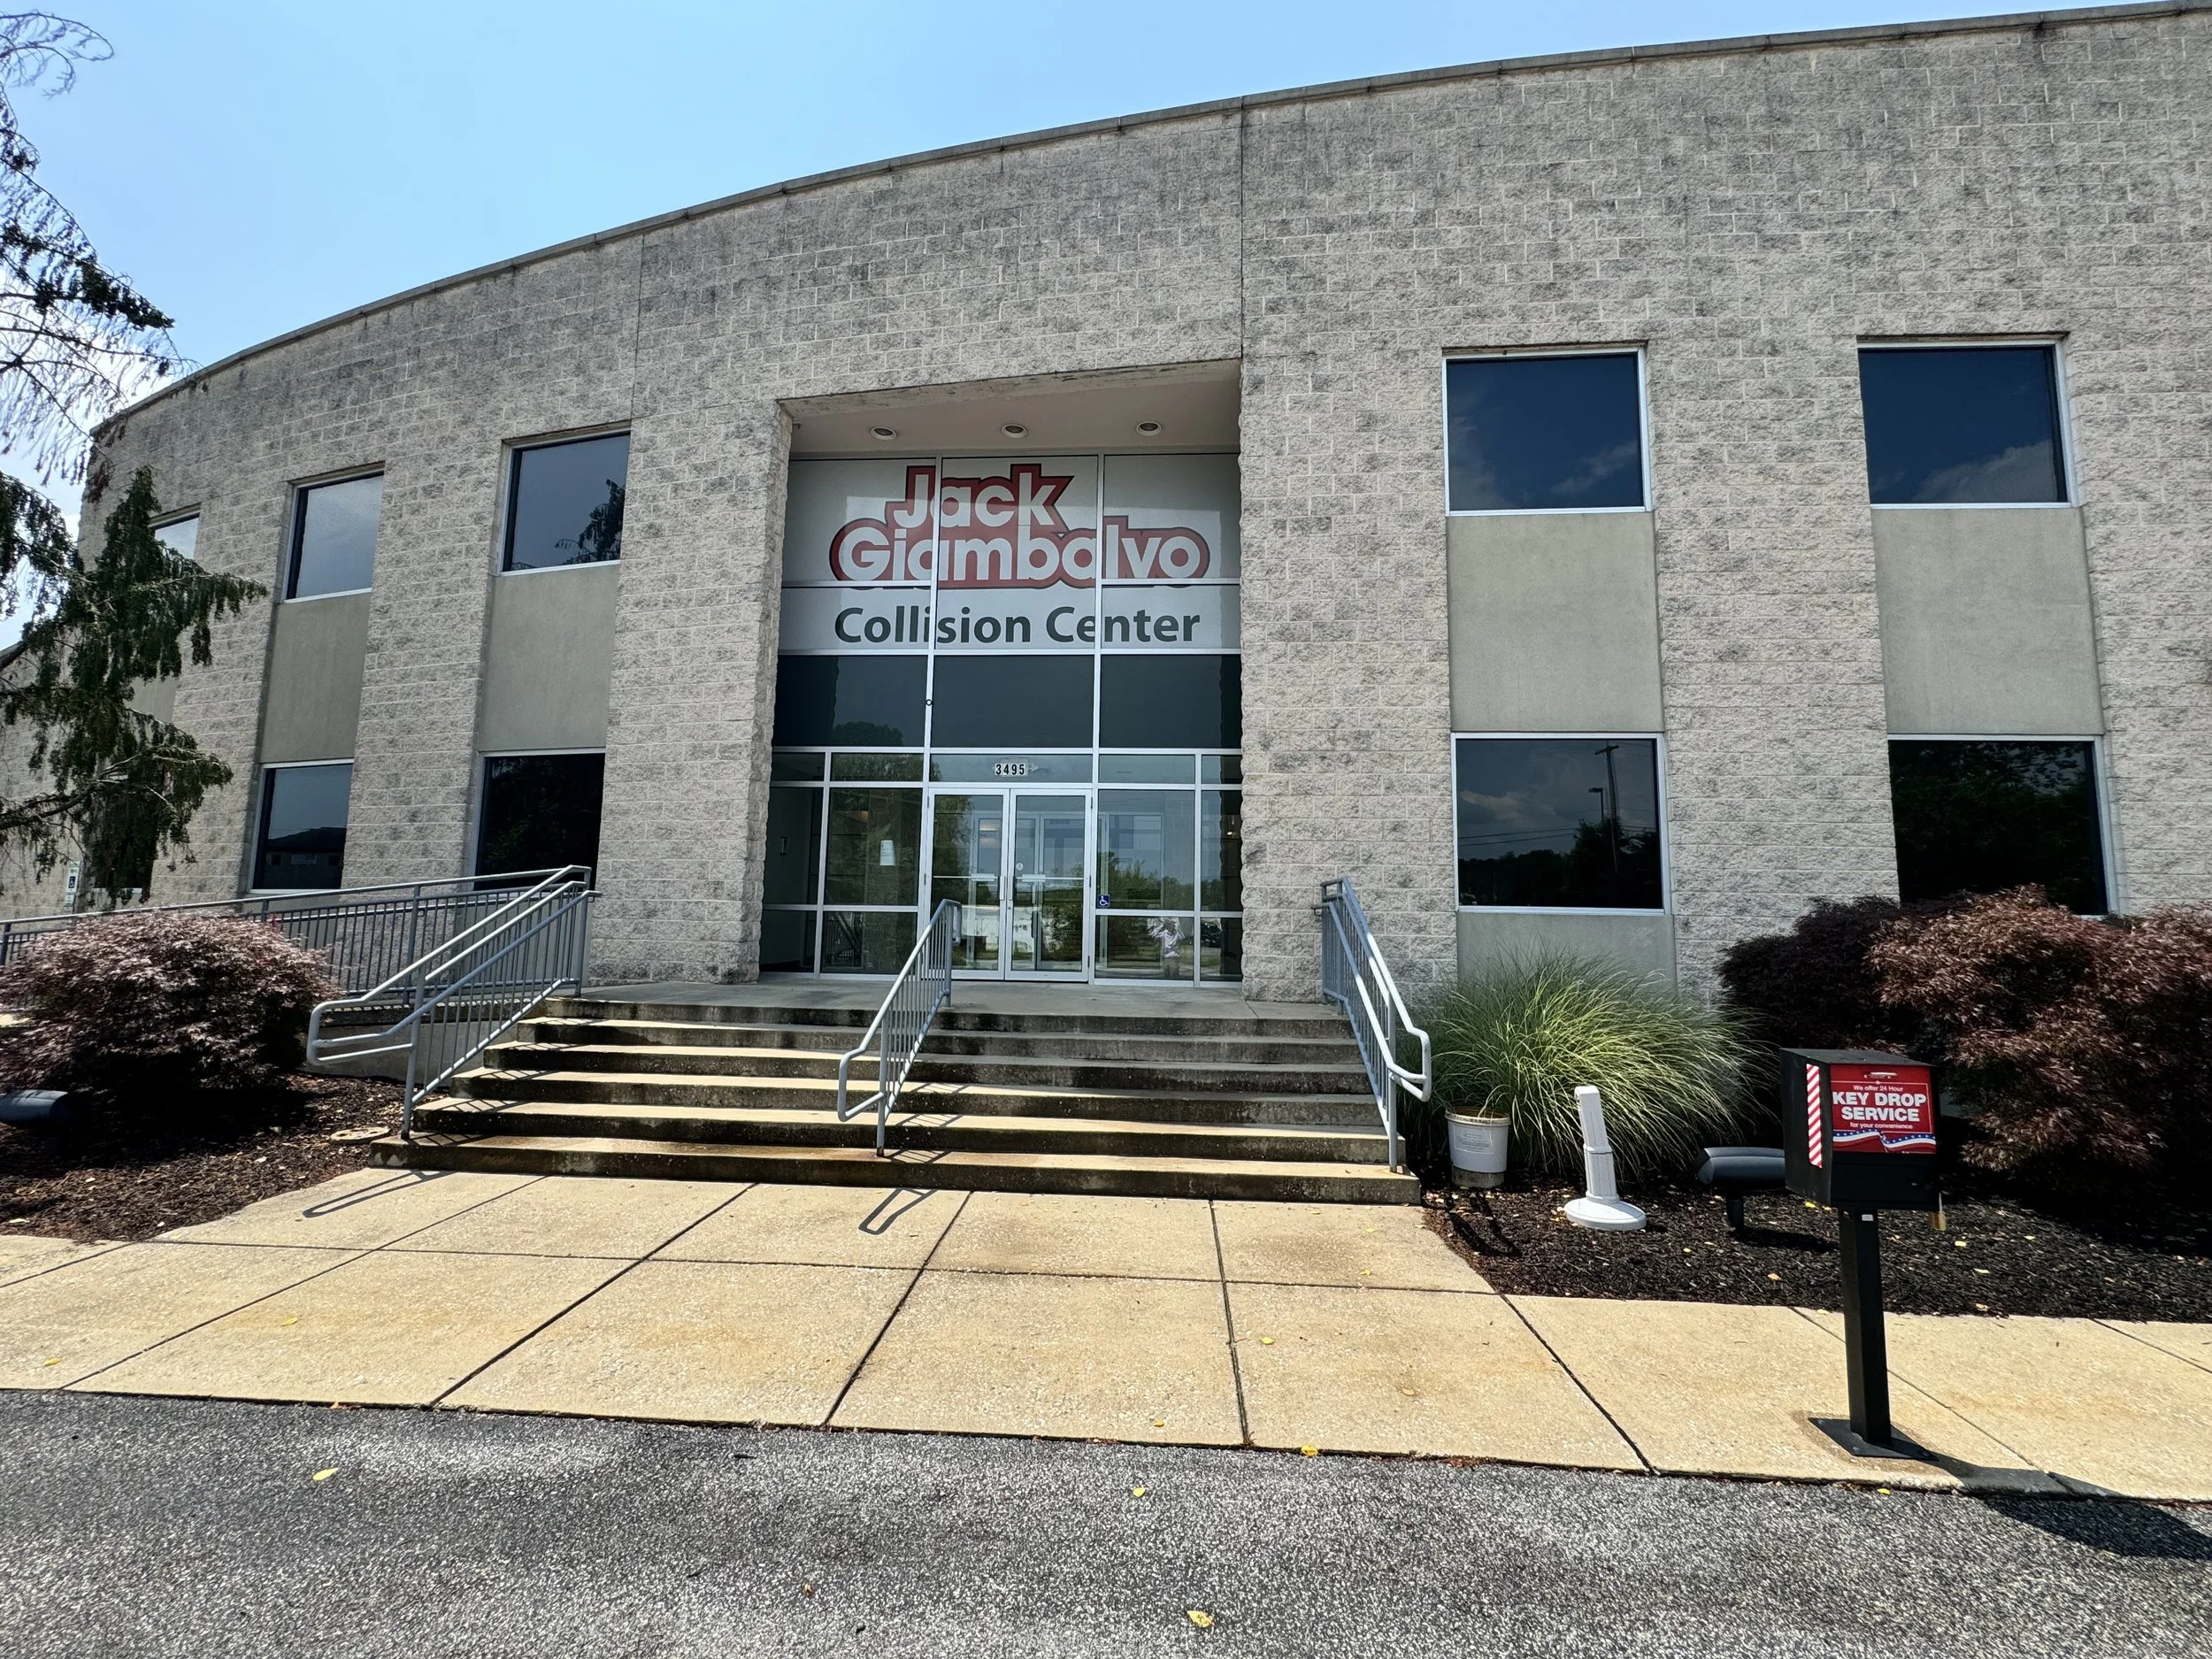
Step 1: Visual Damage Estimate
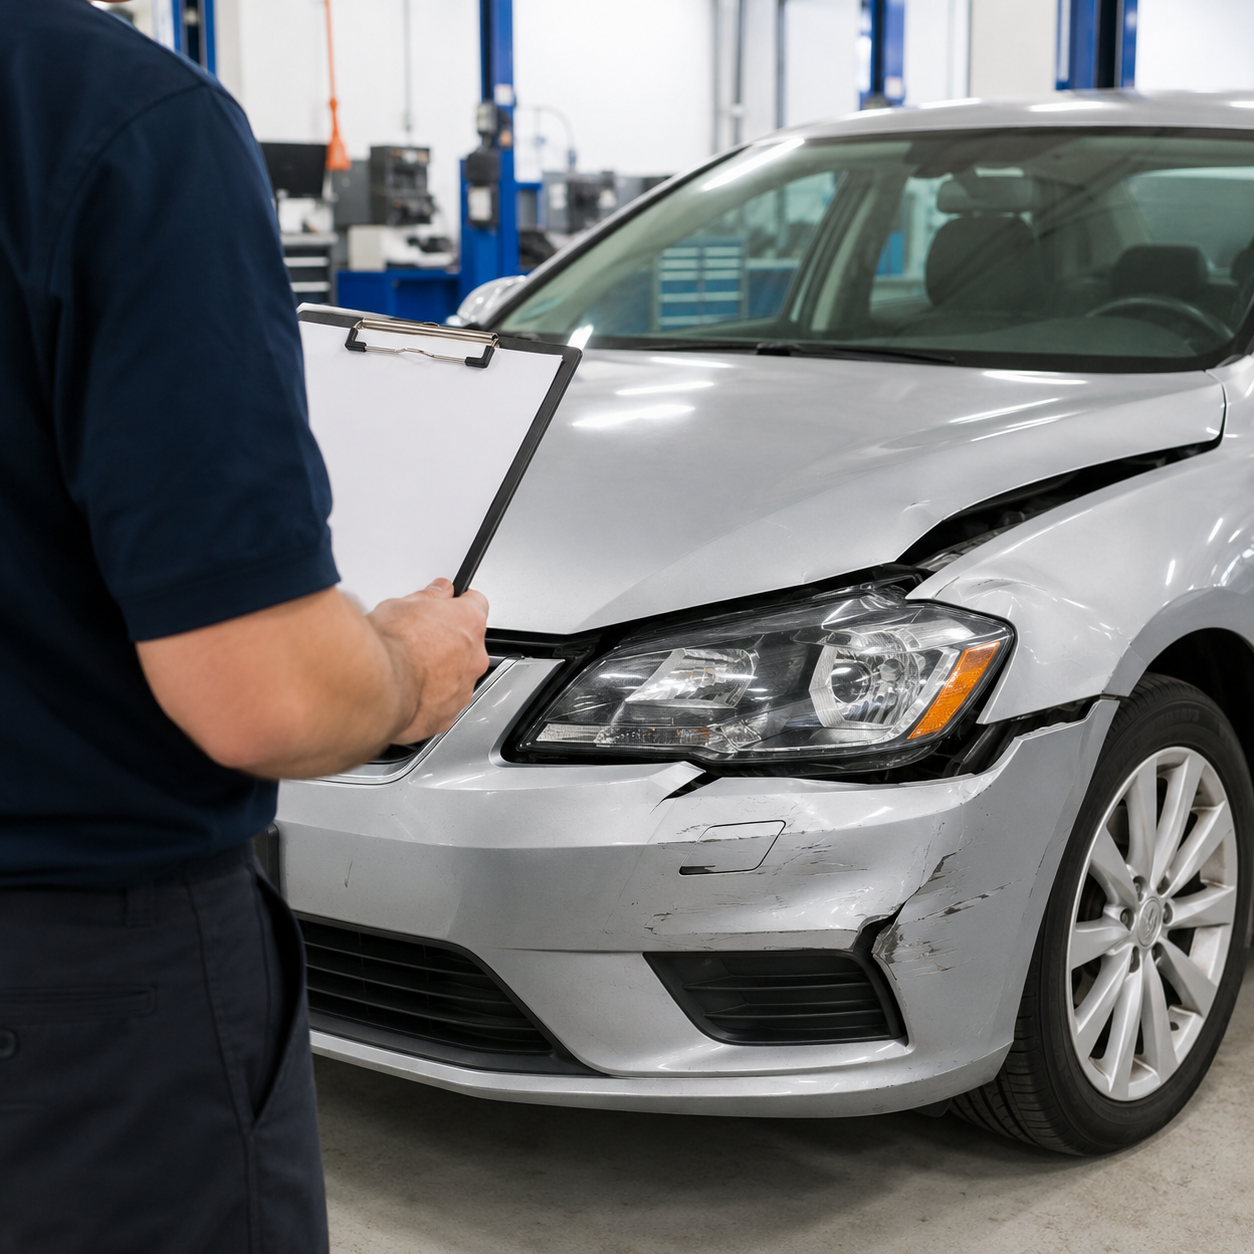
One of our certified estimators will come out and take photos of the impact of the damage to your vehicle. We will then get in contact with you when we have an estimate of the damage.
This is a free estimate and typically takes about 15 minutes!
We will then shortly email you your estimate letting you know the status and what repairs will look like.
Our Repair Process
Step 2: Authorization For Repair
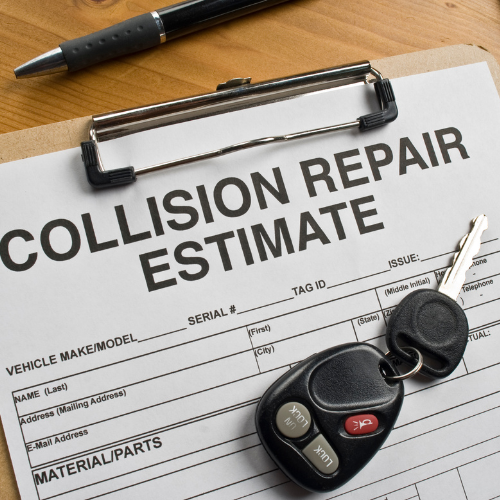
Once you leave, our certified estimators will prepare a detailed estimate based on the photos and damage assessment. We will send the estimate to the vehicle owner for review and authorization.
If you have any questions about the estimate or recommended repairs, please feel free to contact us. Once you authorize the repairs, we can begin the next steps in the repair process.
Step 3: Insurance Approval
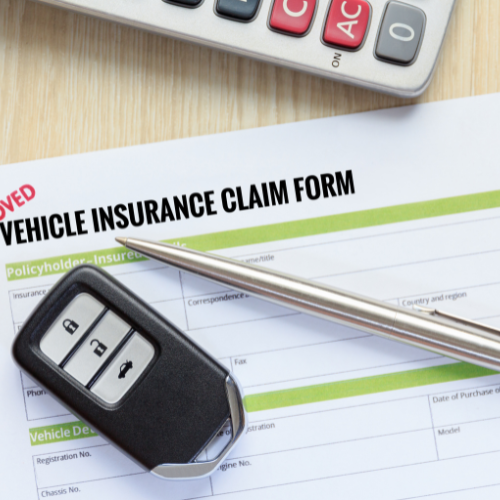
When insurance coverage is involved, we will work with your insurance company to review the estimate and confirm the details of your claim. Our team will help provide the necessary documentation and communicate with the insurance company throughout the process.
Insurance approval may be required before certain repairs can begin. We will keep you informed and let you know if additional information or documentation is needed.
Step 4: Parts are Ordered

After the repair plan has been authorized and approved, we will order the parts needed to repair your vehicle. Our team will identify the correct parts based on your vehicle’s make, model, damage, and repair requirements.
Ordering parts before your vehicle enters the repair process helps our technicians complete the work more efficiently. Some repairs may require additional parts if hidden damage is discovered later.
Step 5 : Parts Are Inspected
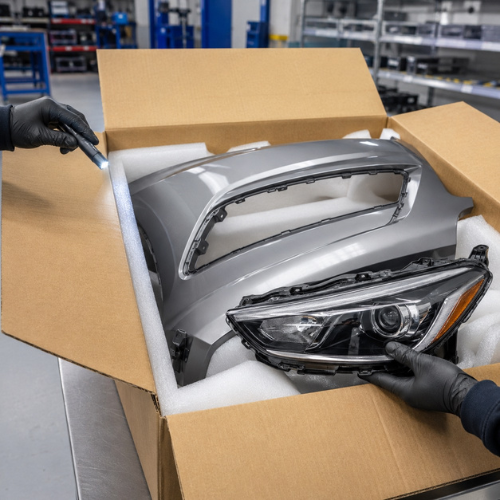
When the parts arrive, our team will carefully inspect them to make sure they are correct and free from damage. Each part is checked against the repair estimate before it is prepared for installation.
This inspection helps reduce delays and allows us to identify any incorrect or damaged parts before the repair work is underway. If a replacement part is needed, we will work to resolve the issue as quickly as possible.
Step 6: Completion Date Is Given
Once the parts are received and the repair details are confirmed, we will provide an estimated completion date for your vehicle. The estimated date is based on the approved repairs, parts availability, and the expected repair time.
Some vehicles may require additional repairs after disassembly. If the repair plan changes or more time is needed, our team will provide an updated estimate and keep you informed.
Step 7: Vehicle Gets Scheduled
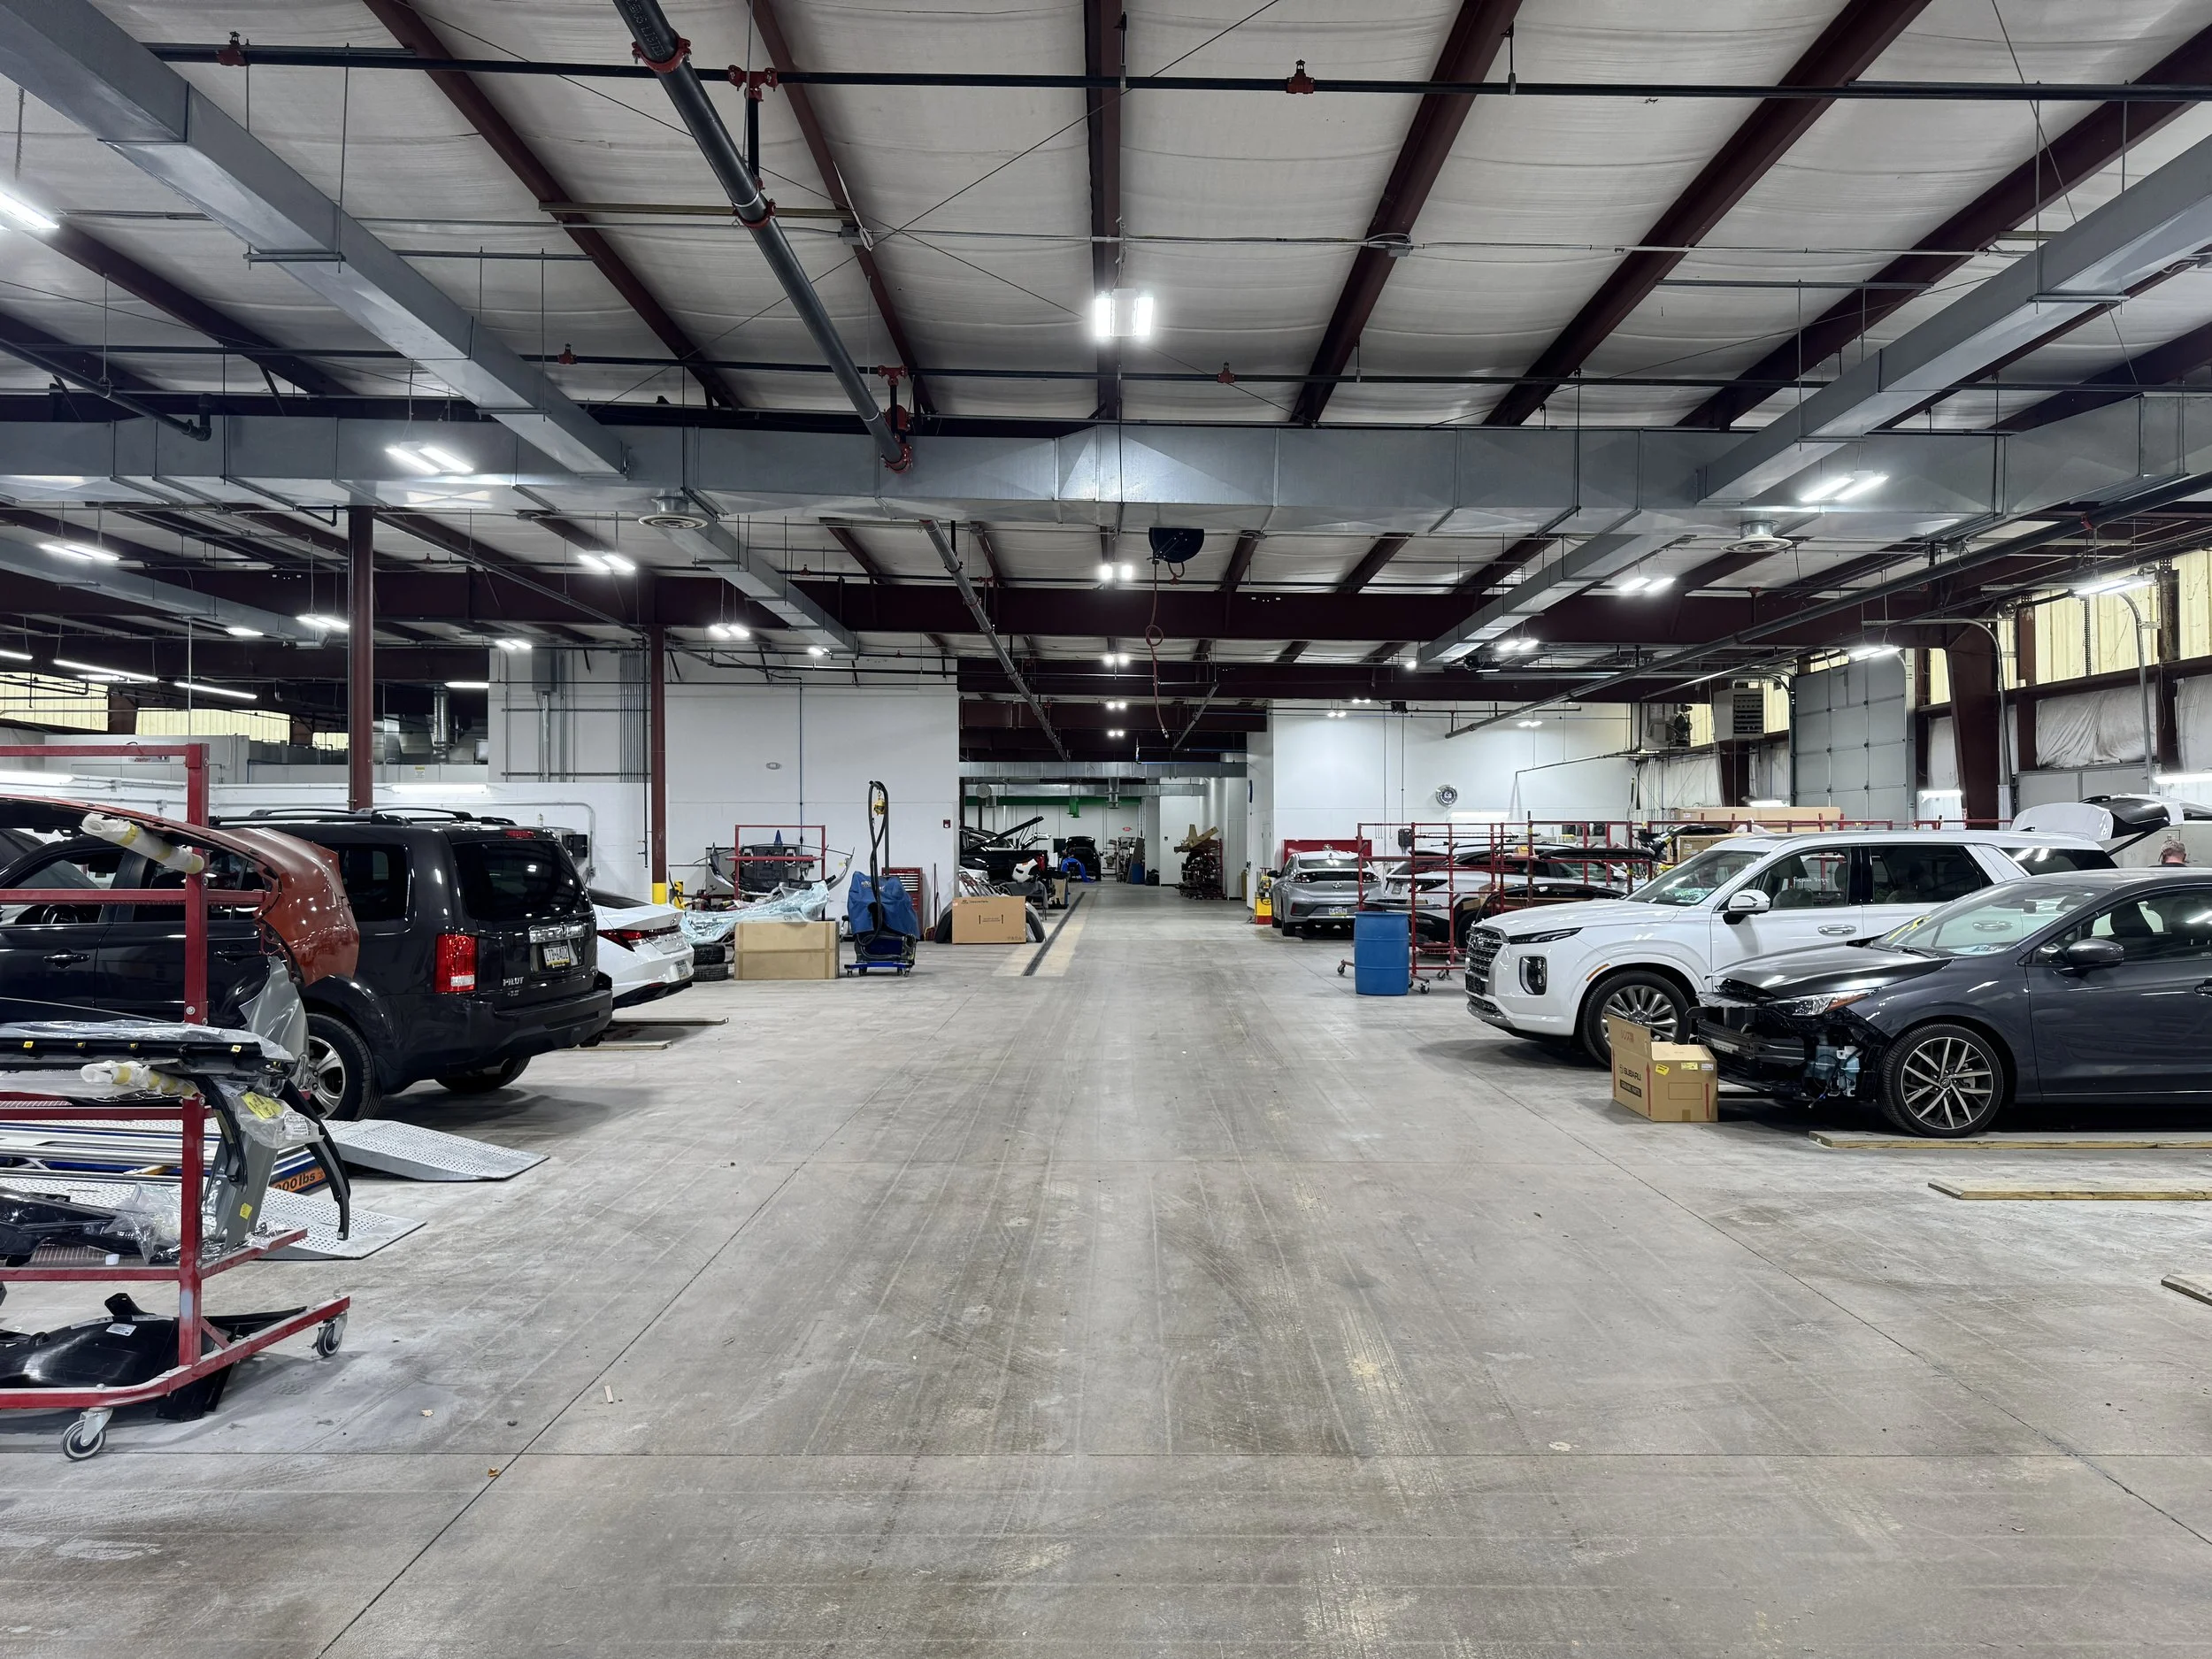
After the repair details are confirmed, your vehicle will be scheduled with our collision repair team. We will coordinate the necessary technicians, equipment, parts, and repair space before work begins.
Scheduling helps our team organize the repair process and keep your vehicle moving through each stage as efficiently as possible. We will let you know when your vehicle is ready to enter the repair area.
Step 8: Vehicle Is Disassembled
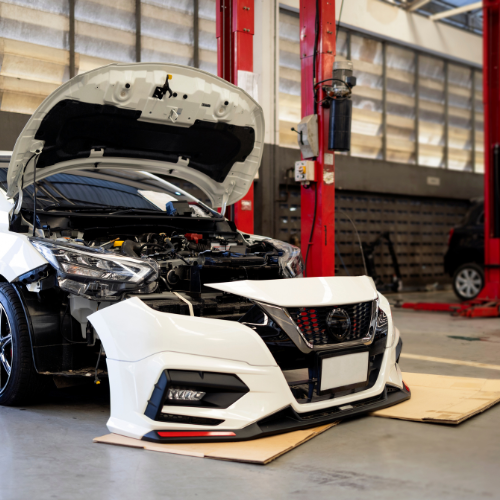
Our technicians will carefully disassemble the damaged areas of your vehicle so they can inspect the damage more closely. Some damage may be hidden behind the vehicle’s exterior panels and cannot be identified during the initial estimate.
Disassembly allows our team to see the full condition of the vehicle and determine which components can be repaired and which parts may need to be replaced.
Step 9: Damage Is Re-Inspected
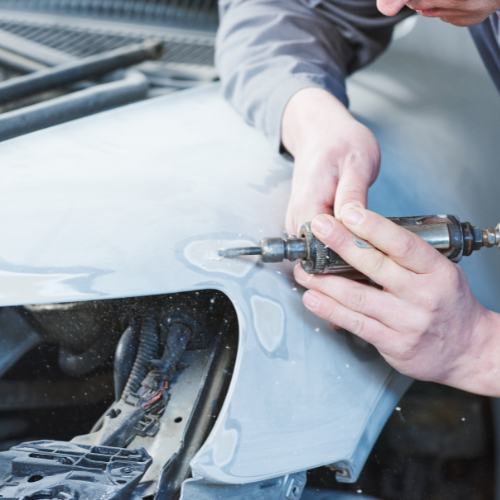
Once the damaged areas are exposed, our technicians will complete a more detailed inspection of the vehicle. They will check the body panels, structural components, mechanical parts, and other areas that may have been affected during the collision.
If additional damage is found, we will document it and update the repair plan. This detailed inspection helps ensure the necessary repairs are identified before the vehicle is rebuilt.
Step 10: Supplemental Estimate Is Prepared
If hidden or additional damage is discovered during disassembly, our estimators will prepare a supplemental estimate. This estimate explains the additional repairs, parts, and labor that may be needed to properly restore your vehicle.
We will submit the supplemental information to the appropriate insurance company or vehicle owner for review. Our goal is to make sure the full repair needs of your vehicle are properly documented.
Step 11: Supplemental Estimate Is Approved
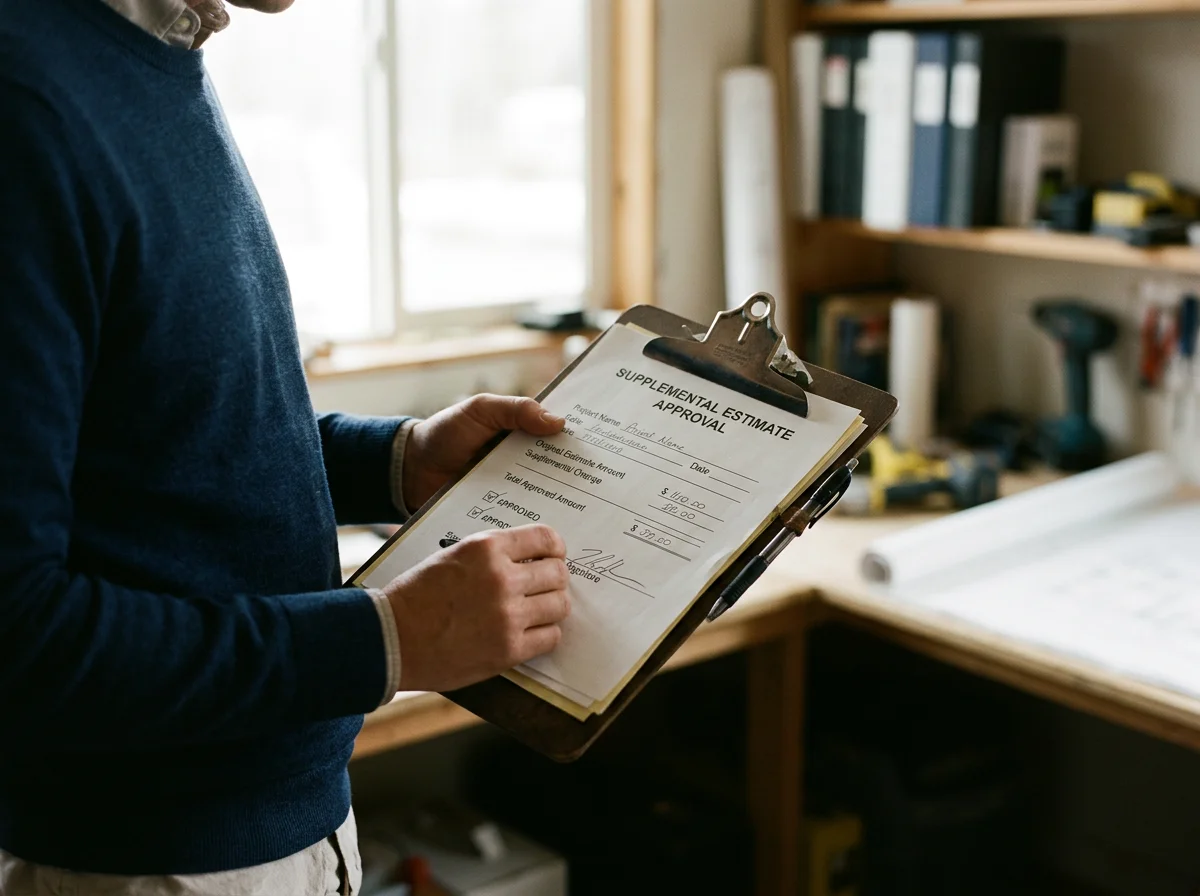
Once the supplemental estimate has been reviewed, approval will be requested for the additional repairs. These repairs may include replacing damaged components, correcting structural damage, or completing work that was not visible during the original estimate.
After approval is received, our technicians can continue with the additional repairs. If approval takes additional time, we will keep you updated on the status of your vehicle.
Step 12: Additional Parts Are Ordered
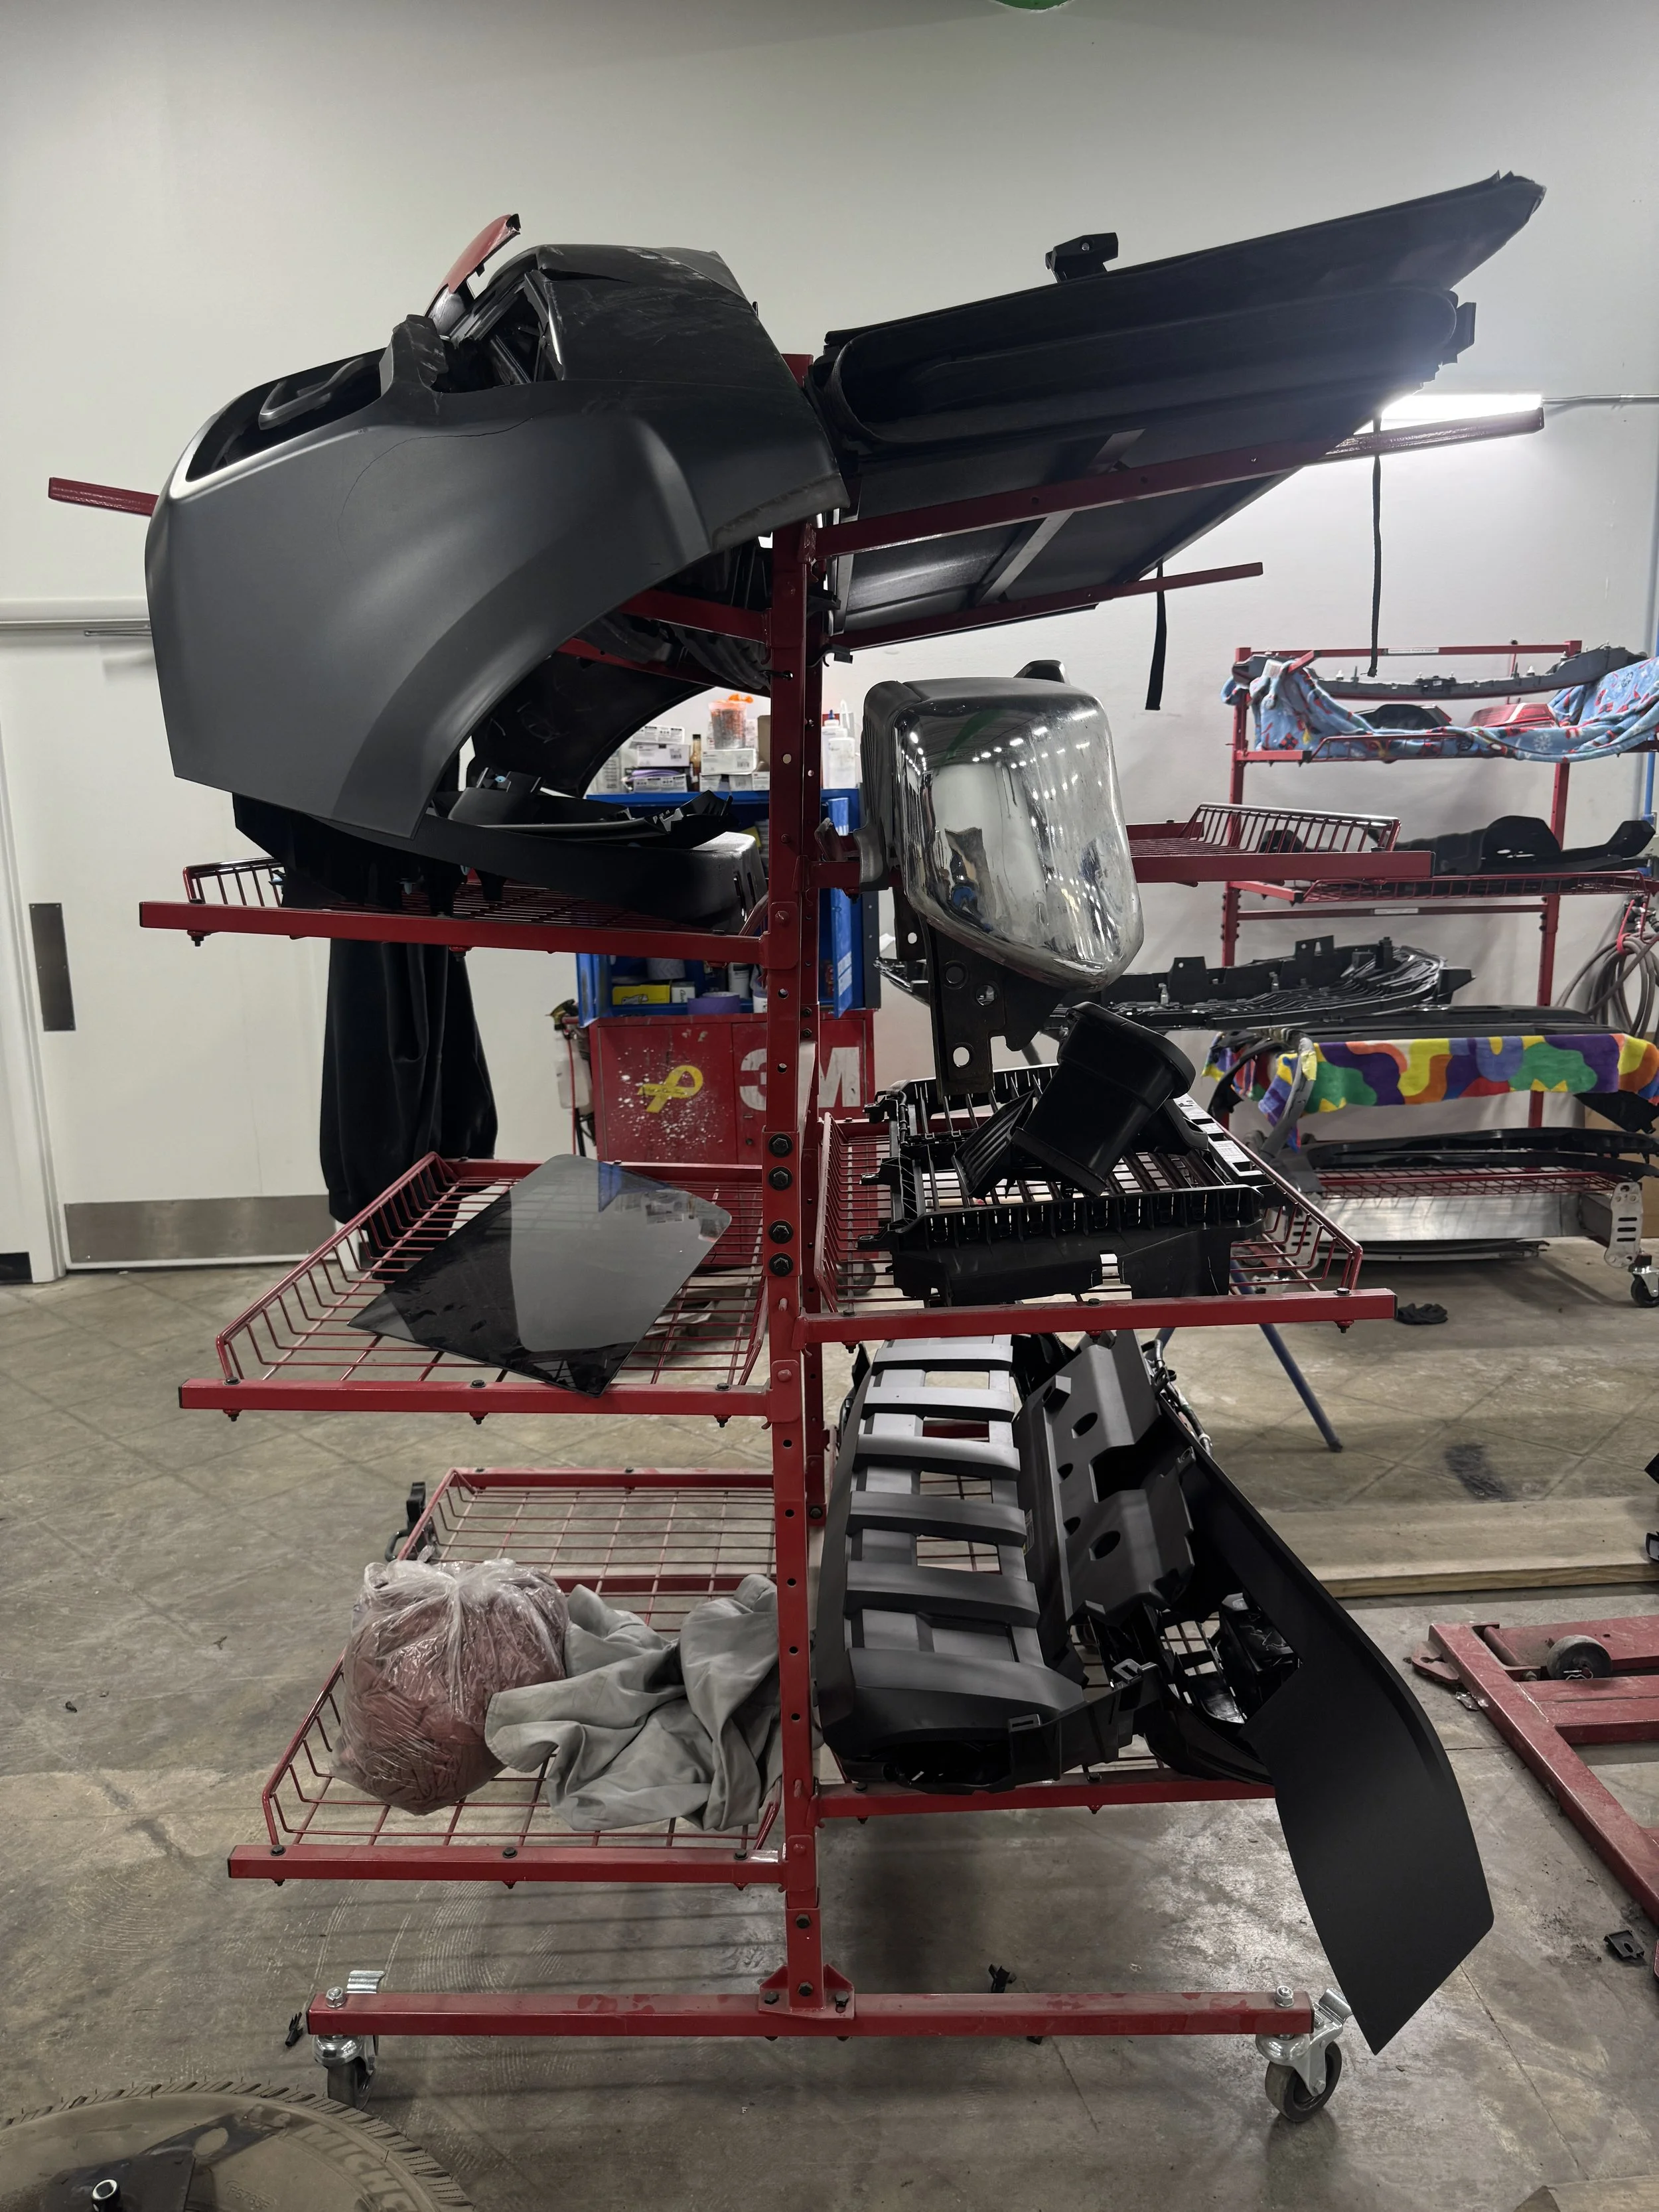
If the supplemental estimate requires additional parts, we will order them as soon as the repairs are approved. The parts will be selected based on the vehicle’s repair requirements and the approved repair plan.
Additional parts may affect the expected completion date of your vehicle. If the timeline changes, our team will provide an updated estimate and explain the reason for the change.
Step 13: We Update You About Your Vehicle

We believe communication is an important part of the collision repair process. Our team will provide updates as your vehicle moves through the repair stages and when important changes occur.
If additional damage, parts delays, or insurance questions affect the repair timeline, we will communicate that information with you. You are also welcome to contact us if you have questions about the status of your vehicle.
Step 14: Vehicle Is Placed on Repair Equipment
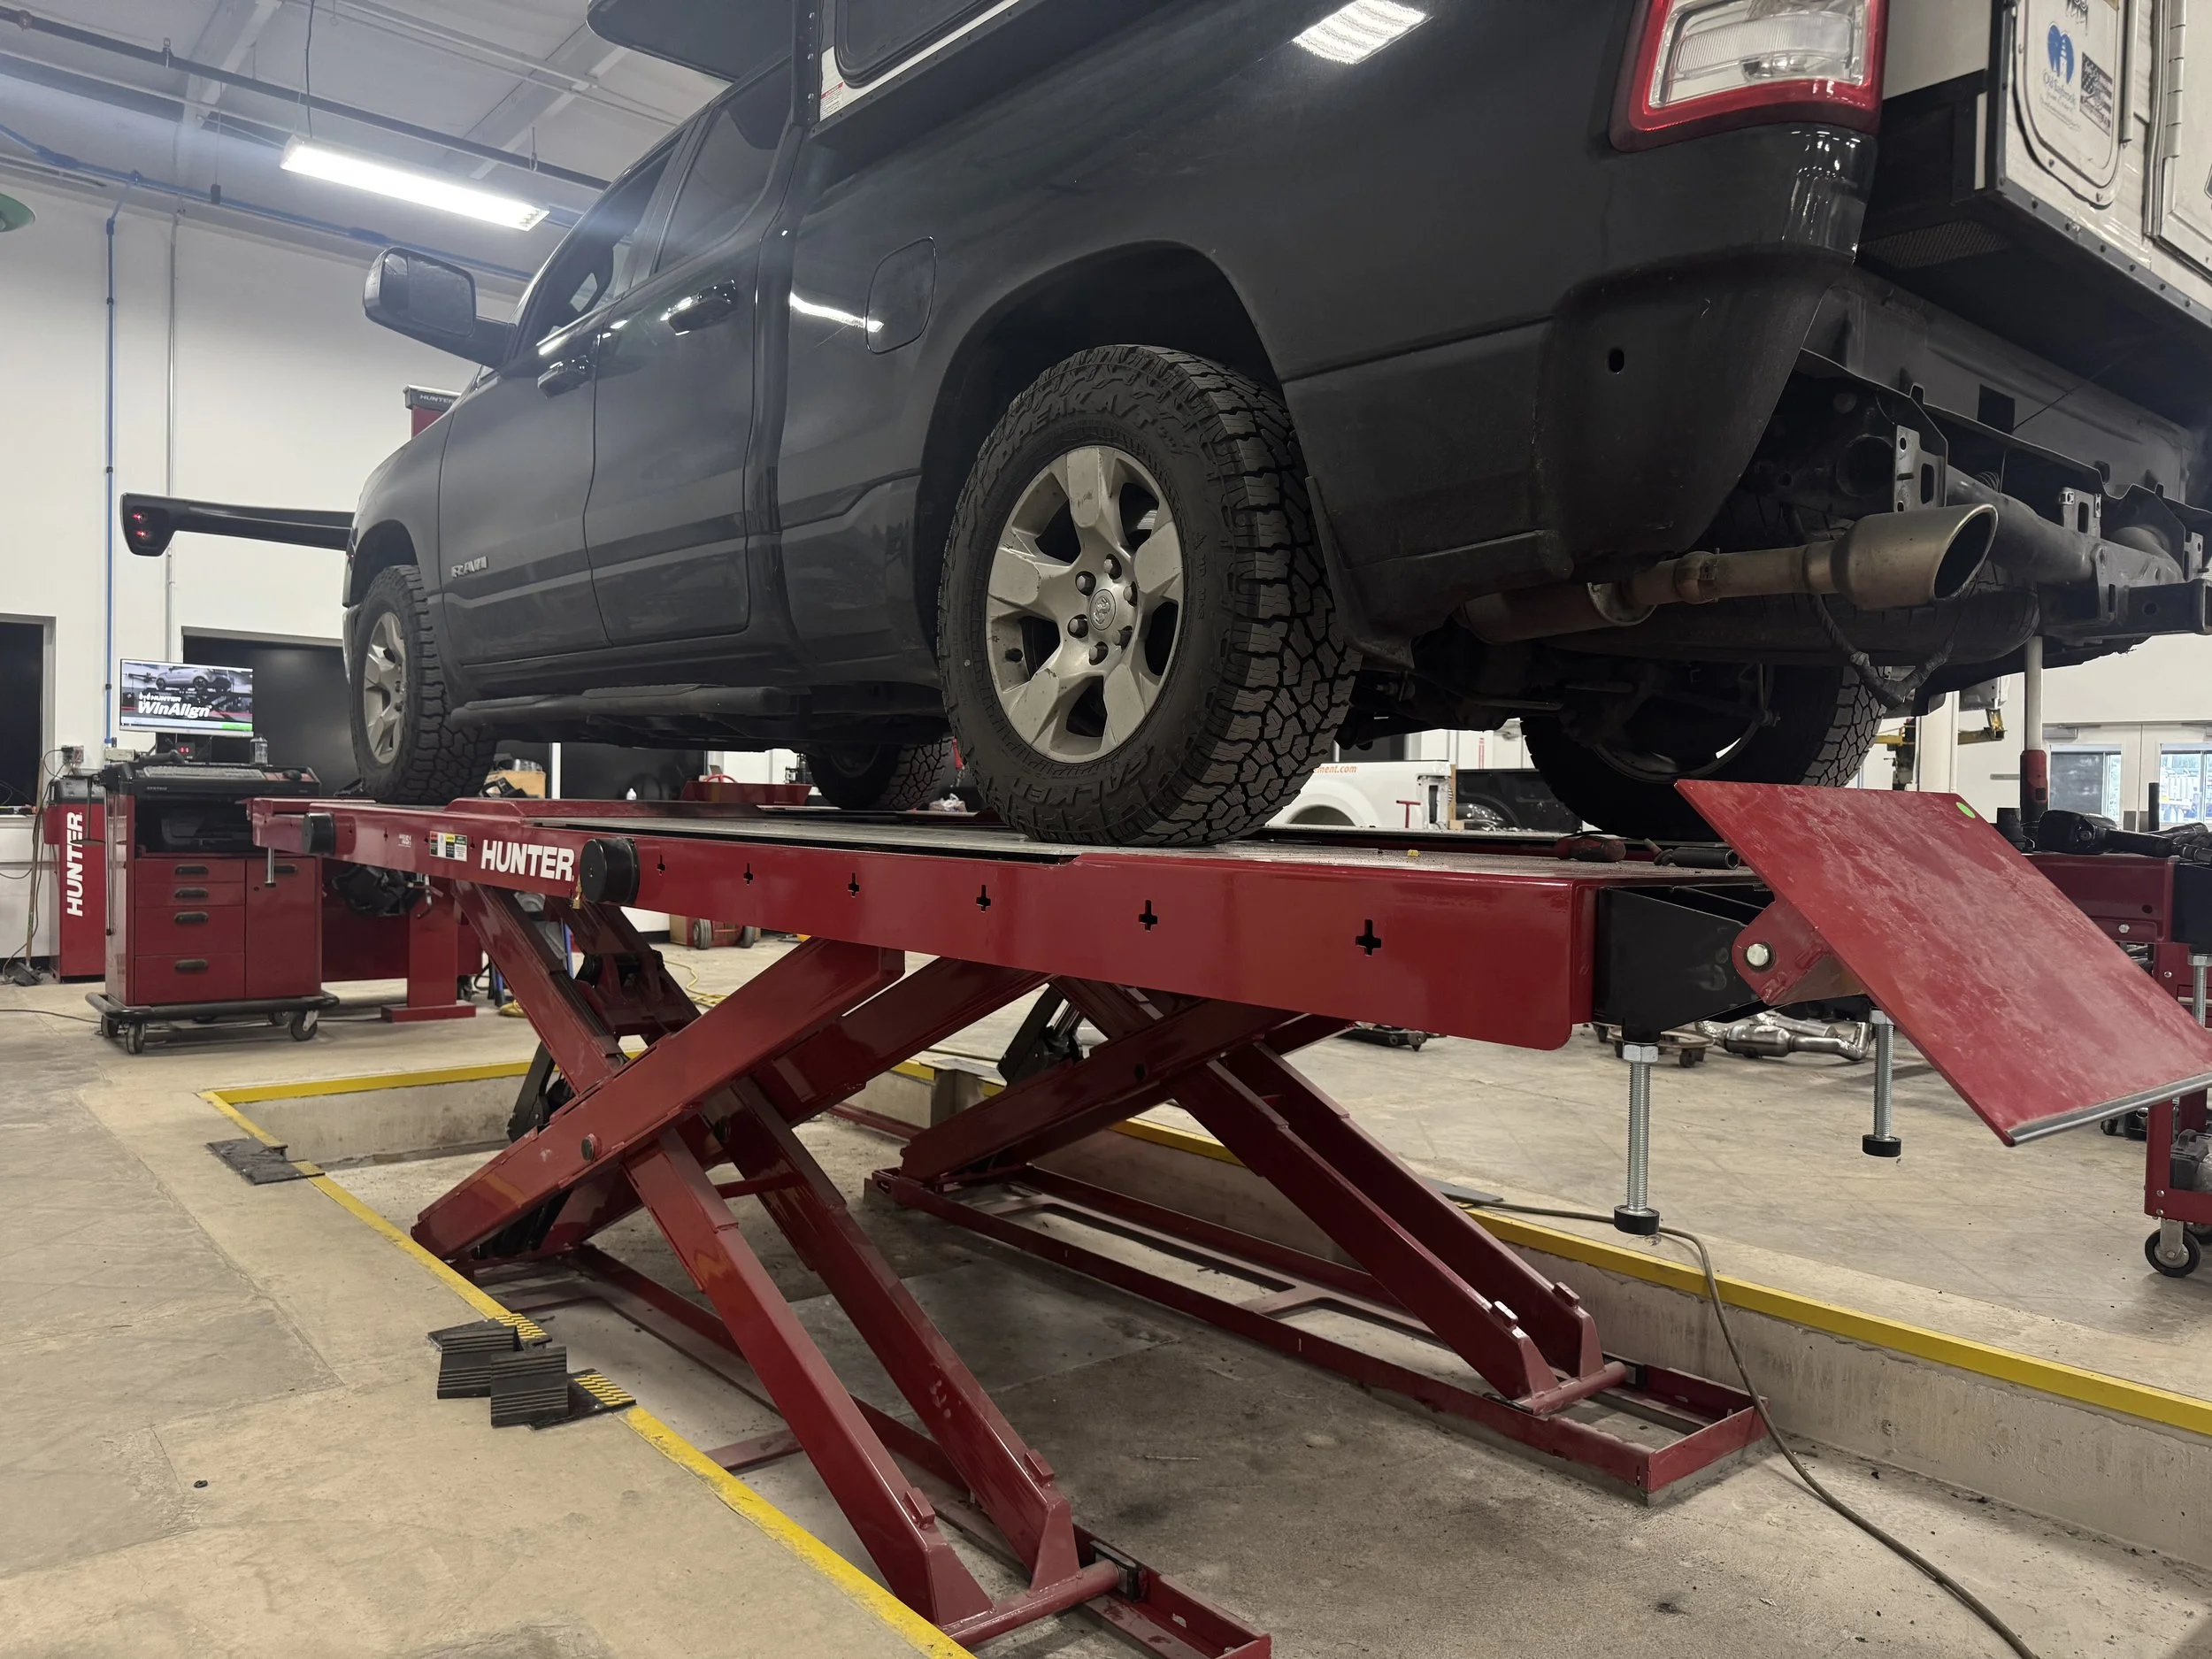
Once the repair plan is complete, your vehicle will be positioned on the proper repair equipment. This allows our technicians to safely and accurately work on the damaged areas of the vehicle.
The vehicle is secured and positioned so our team can check measurements, correct damage, and restore the vehicle as closely as possible to its original condition.
Step 15: Structural and Body Repairs Begin
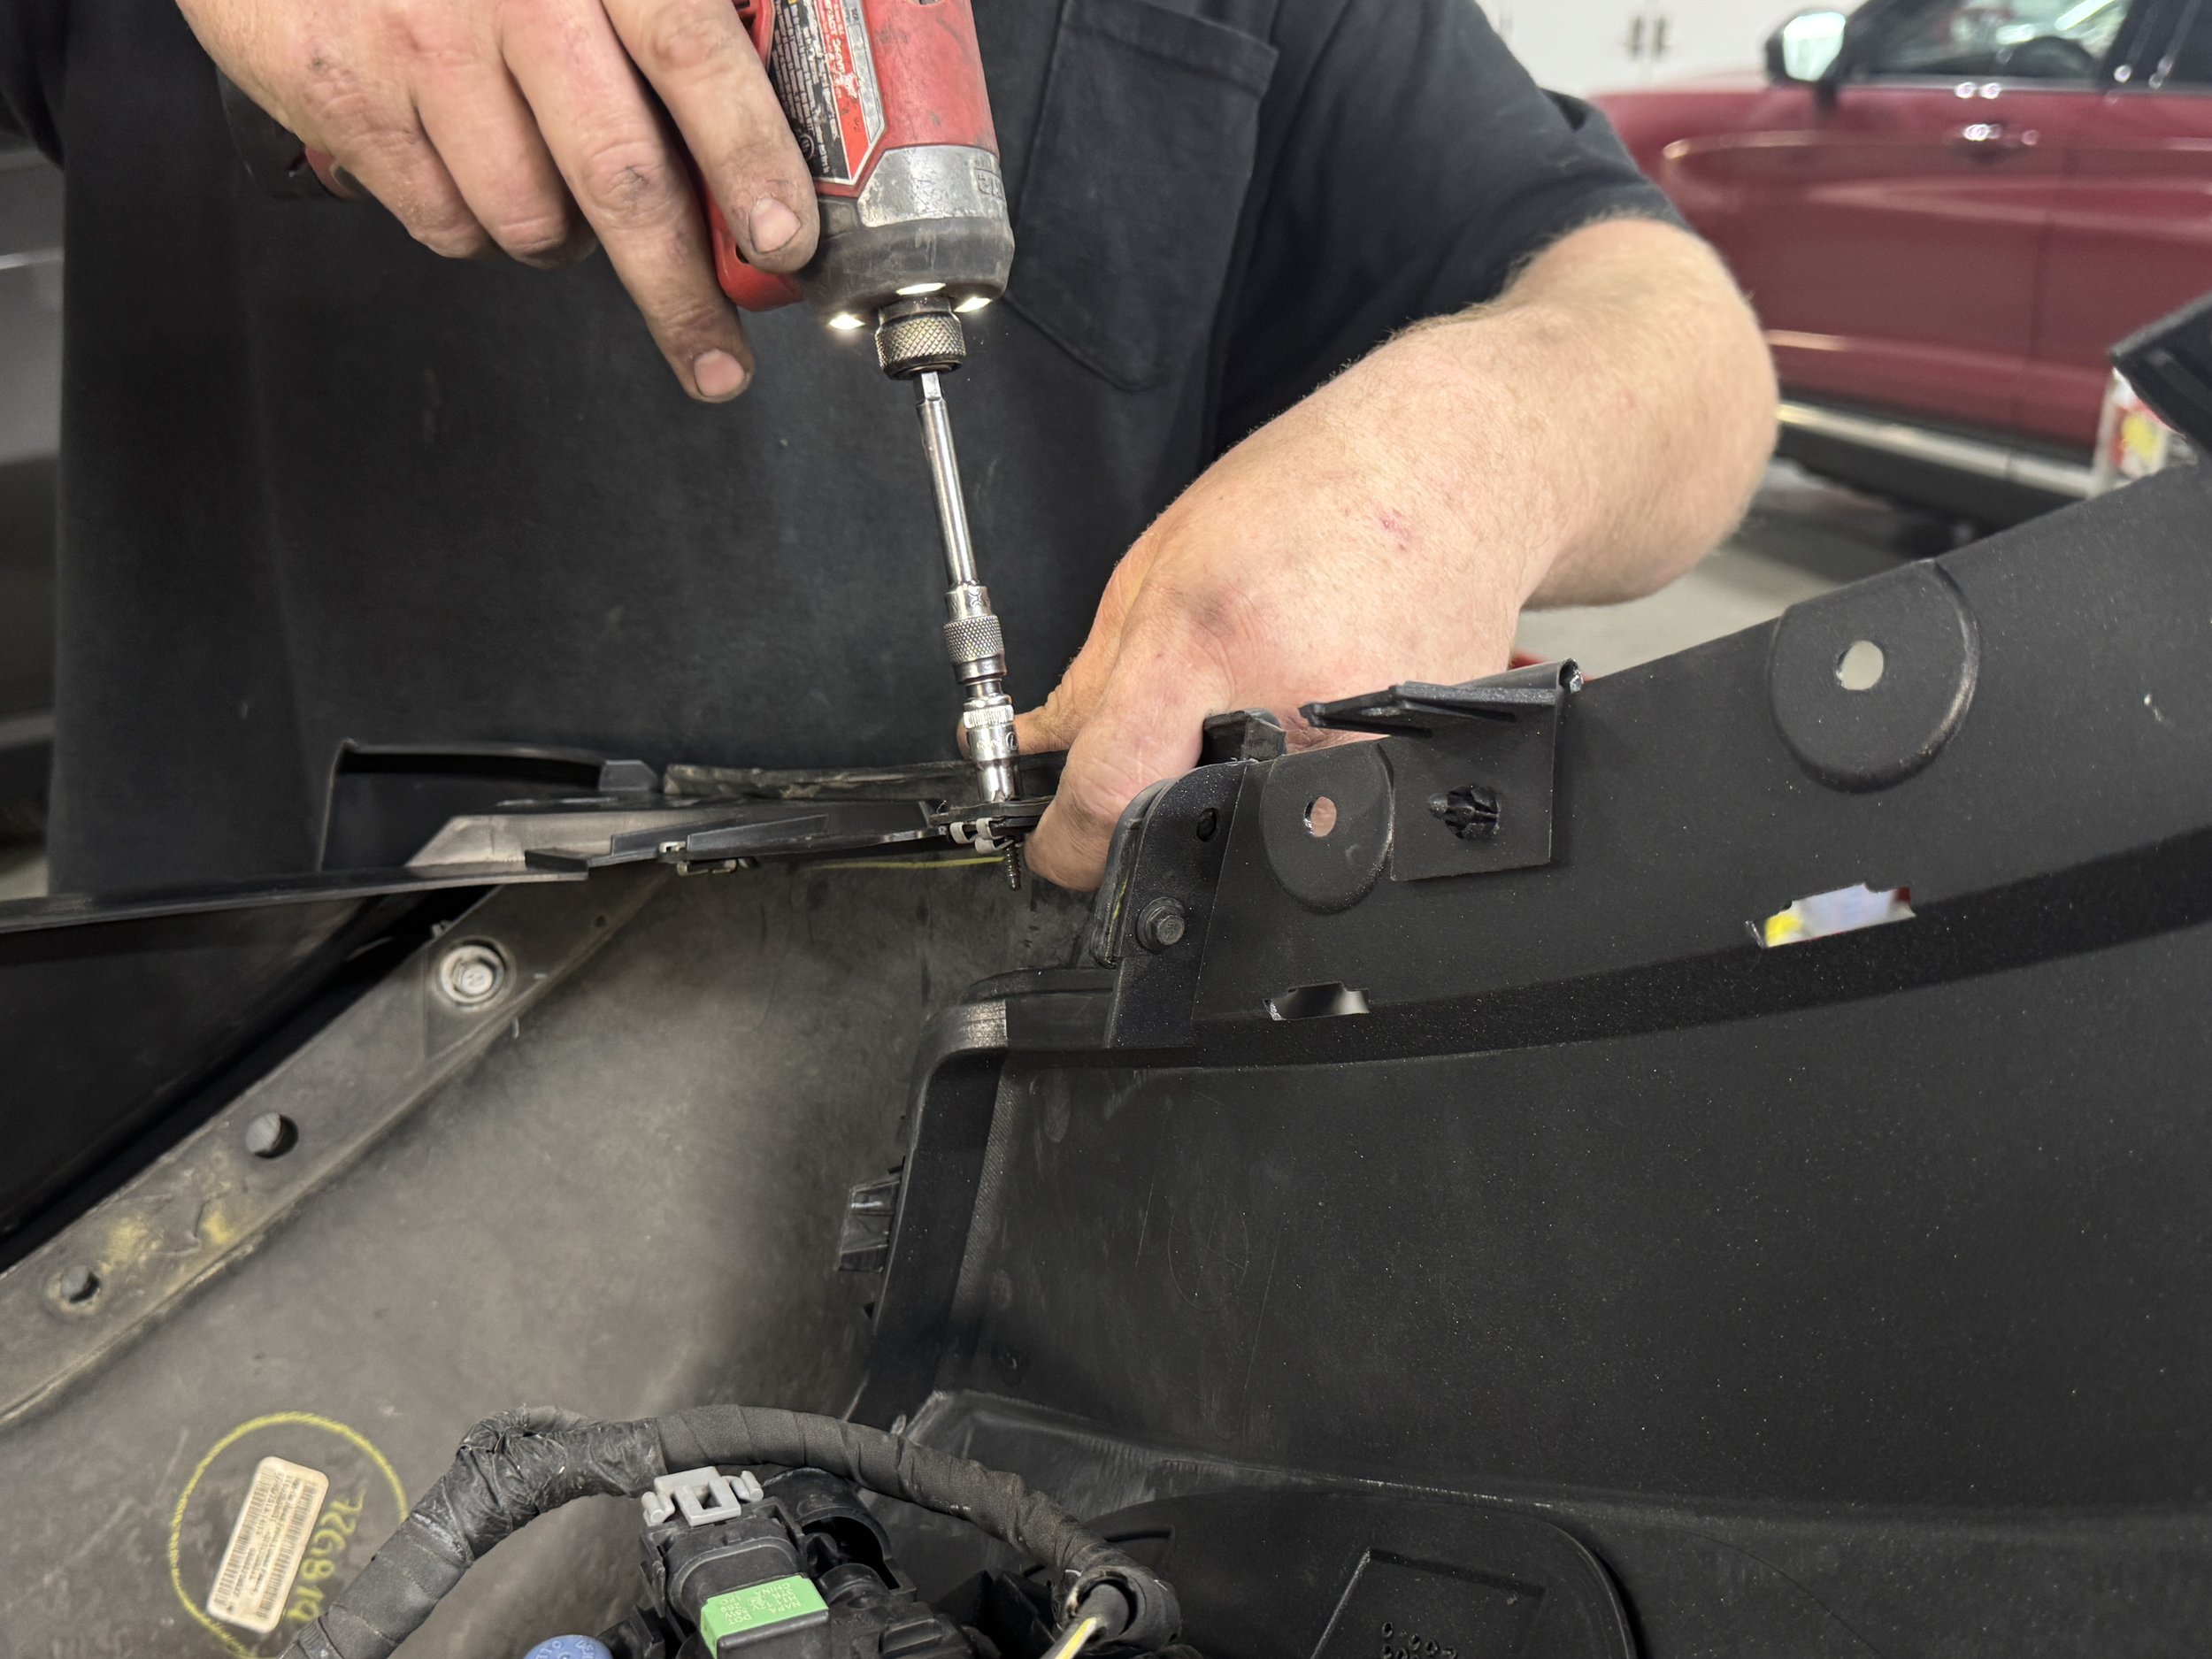
Our trained technicians will begin repairing the structural and body damage identified during the inspection. They use professional tools, specialized equipment, and repair procedures designed for collision damaged vehicles.
The repair process may include restoring damaged metal, replacing panels, repairing supports, and correcting the alignment of the vehicle. Each repair is completed carefully before the vehicle moves to the next stage.
Step 16: New Panels Are Installed
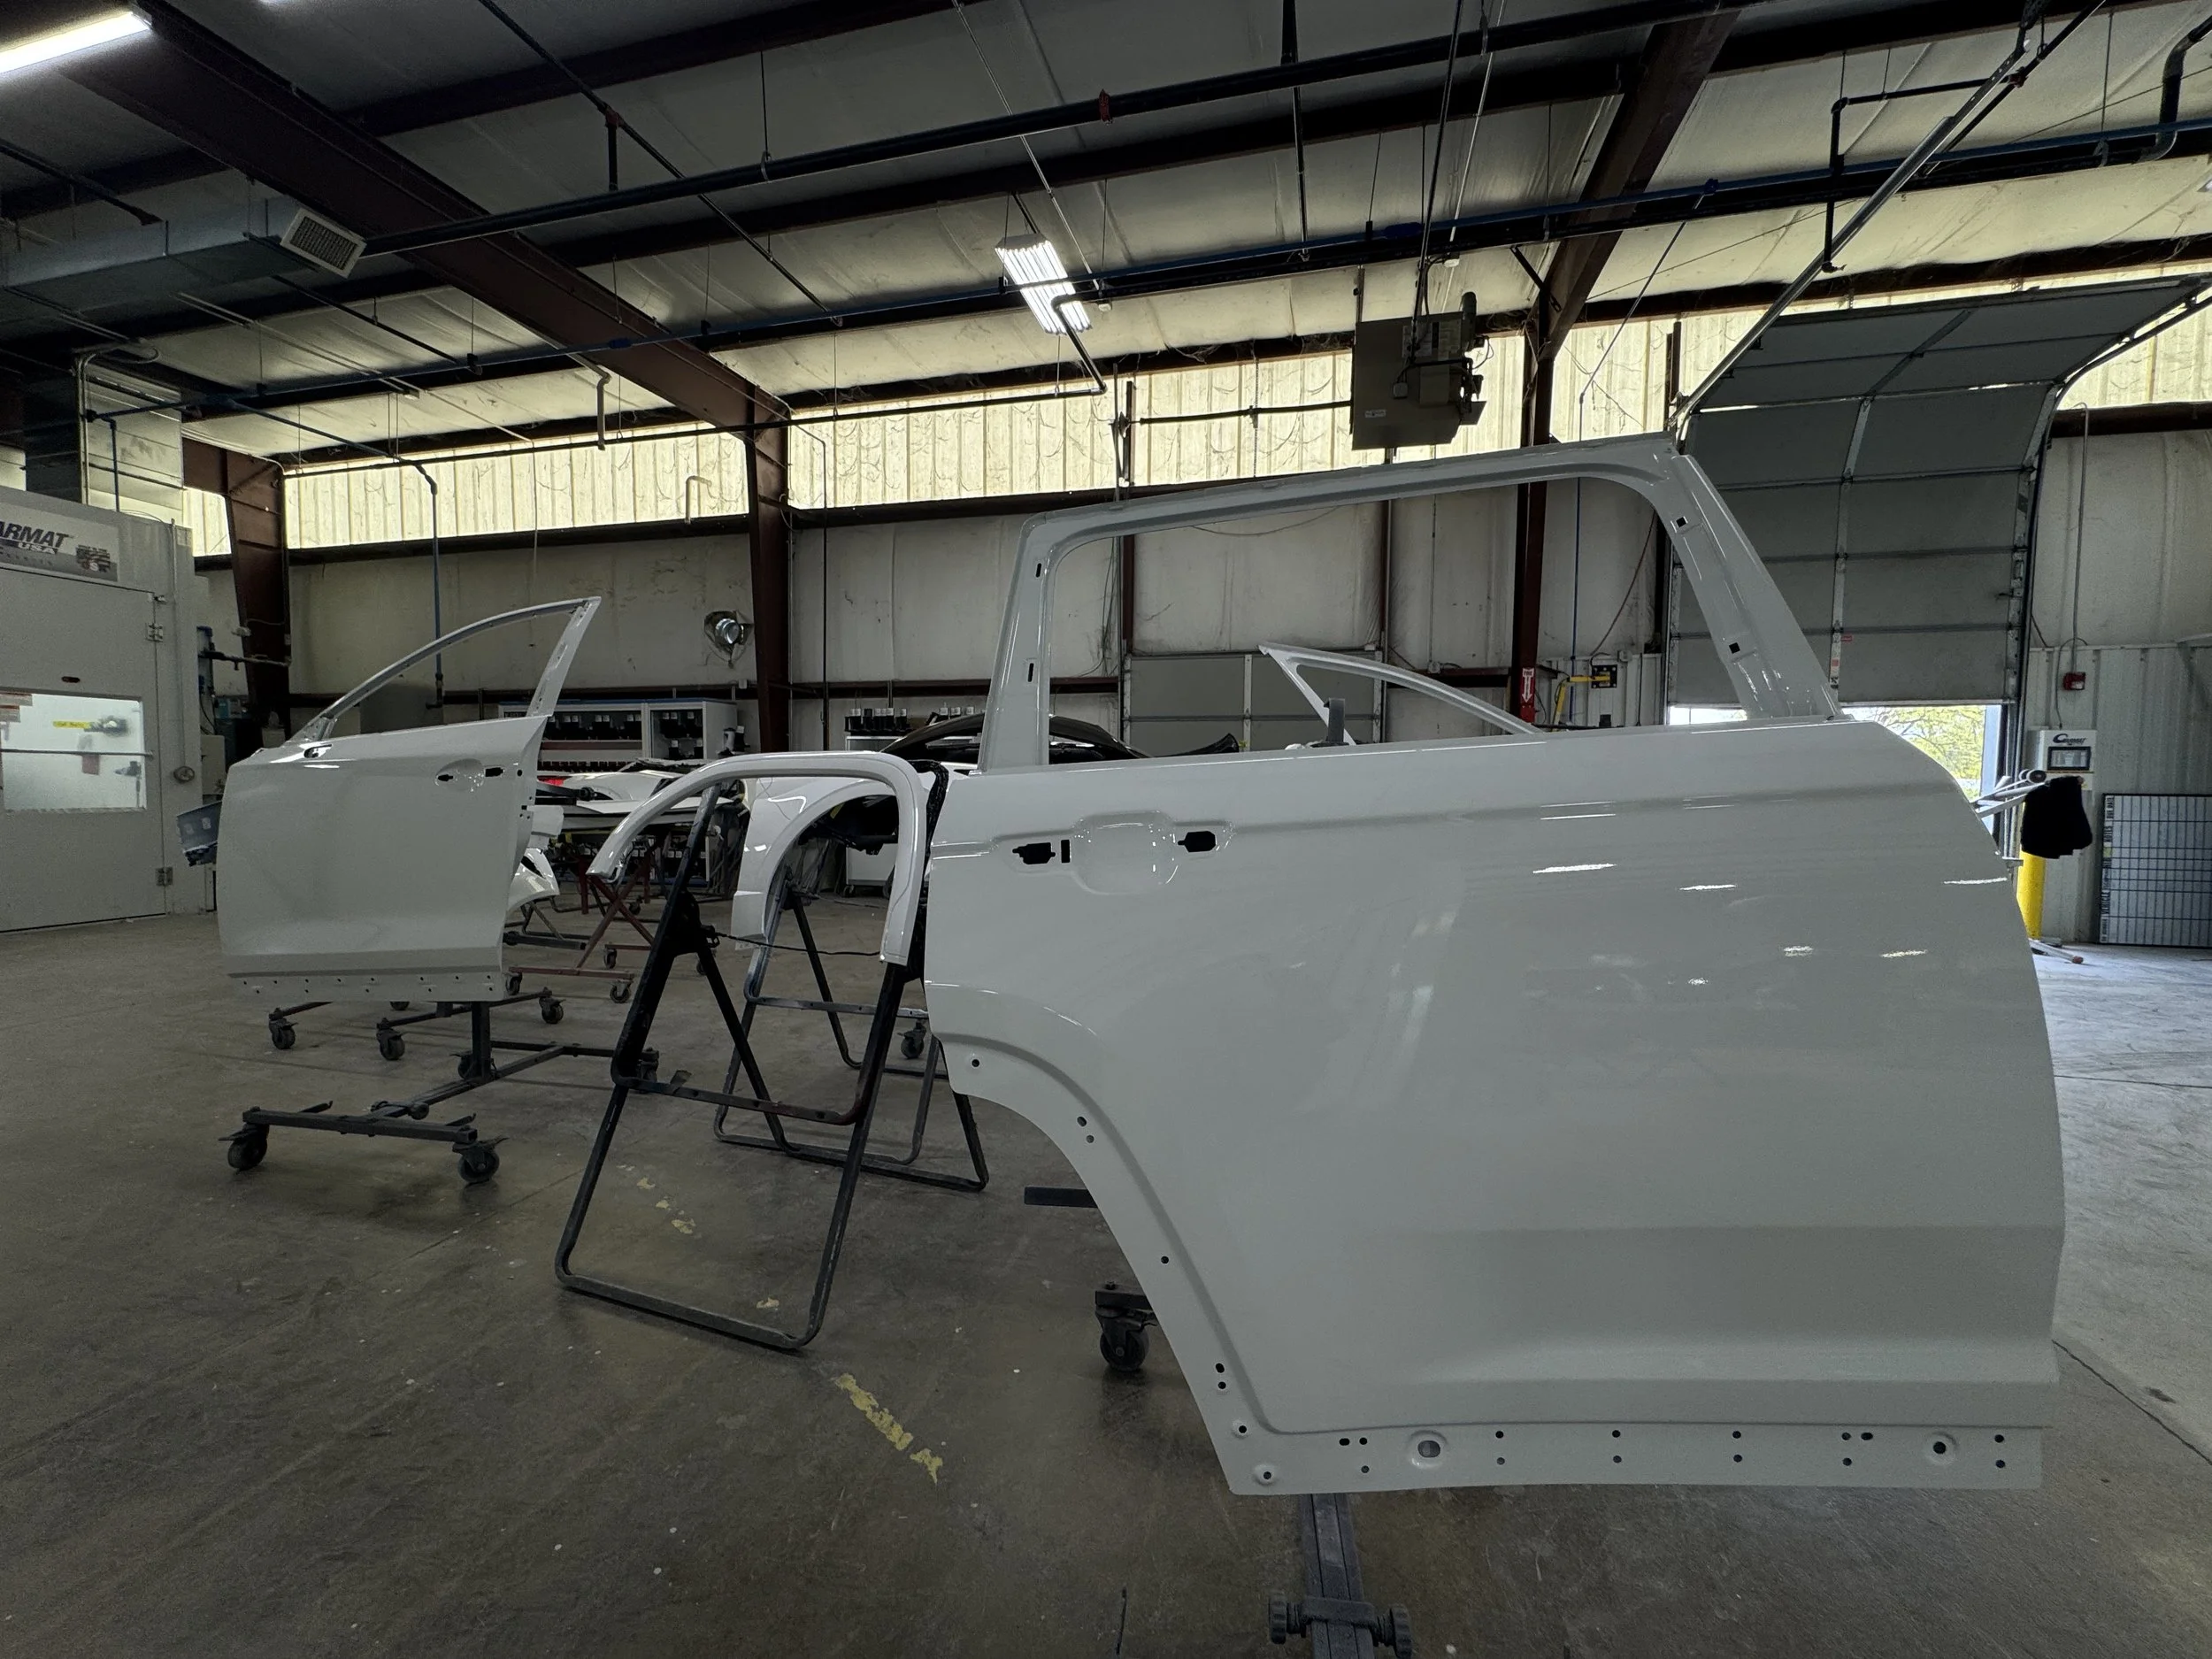
Replacement panels are installed after the damaged areas have been properly repaired and prepared. Our technicians check the placement, alignment, spacing, and fit of each panel.
The panels must match the surrounding areas of the vehicle before painting begins. Proper fit and alignment help restore the vehicle’s appearance and support the quality of the completed repair.
Step 17: Corrosion Protection Is Applied
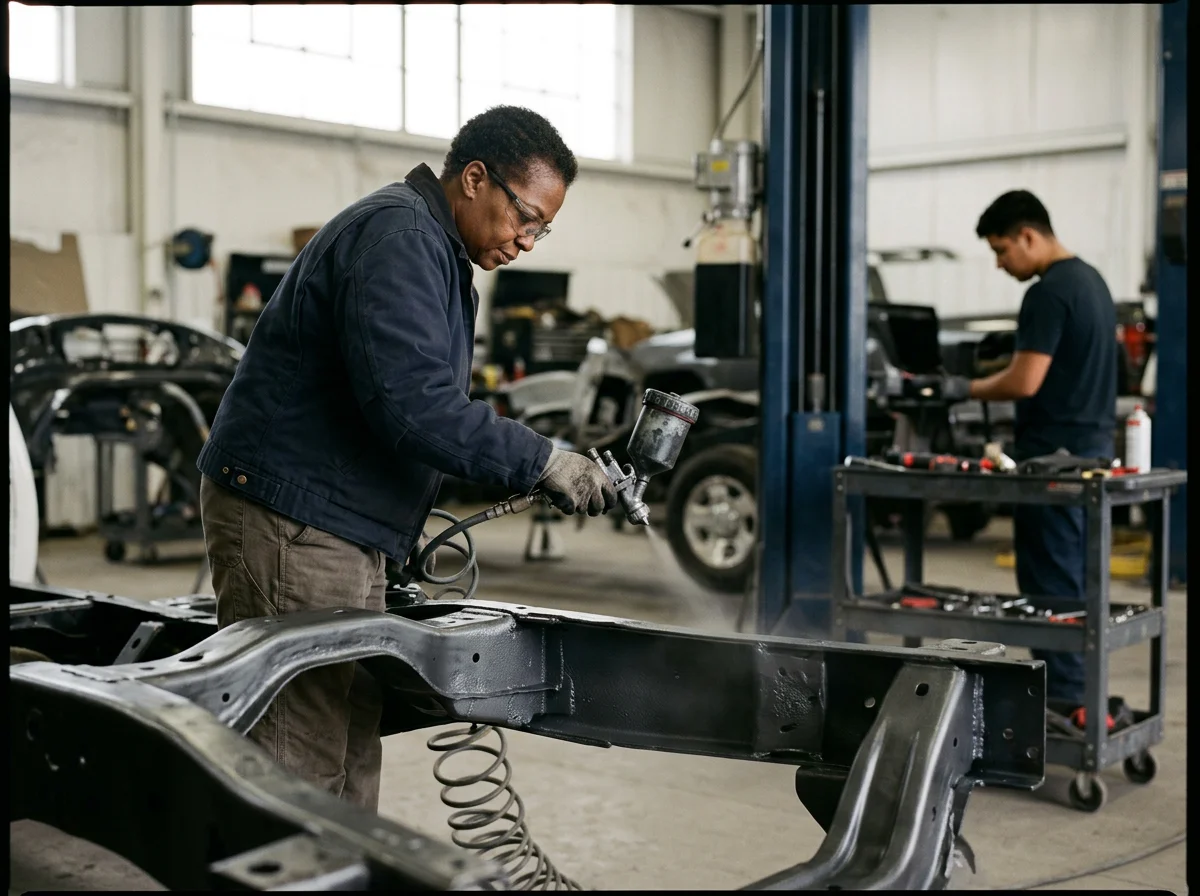
After the body repairs are completed, corrosion protection is applied to the repaired areas when necessary. This helps protect exposed metal and supports the long term condition of the repair.
Our technicians take care to protect areas that may be vulnerable to moisture, road salt, and other elements. This step helps prepare the vehicle for the remaining repair and refinishing work.
Step 18: Metal Work Begins
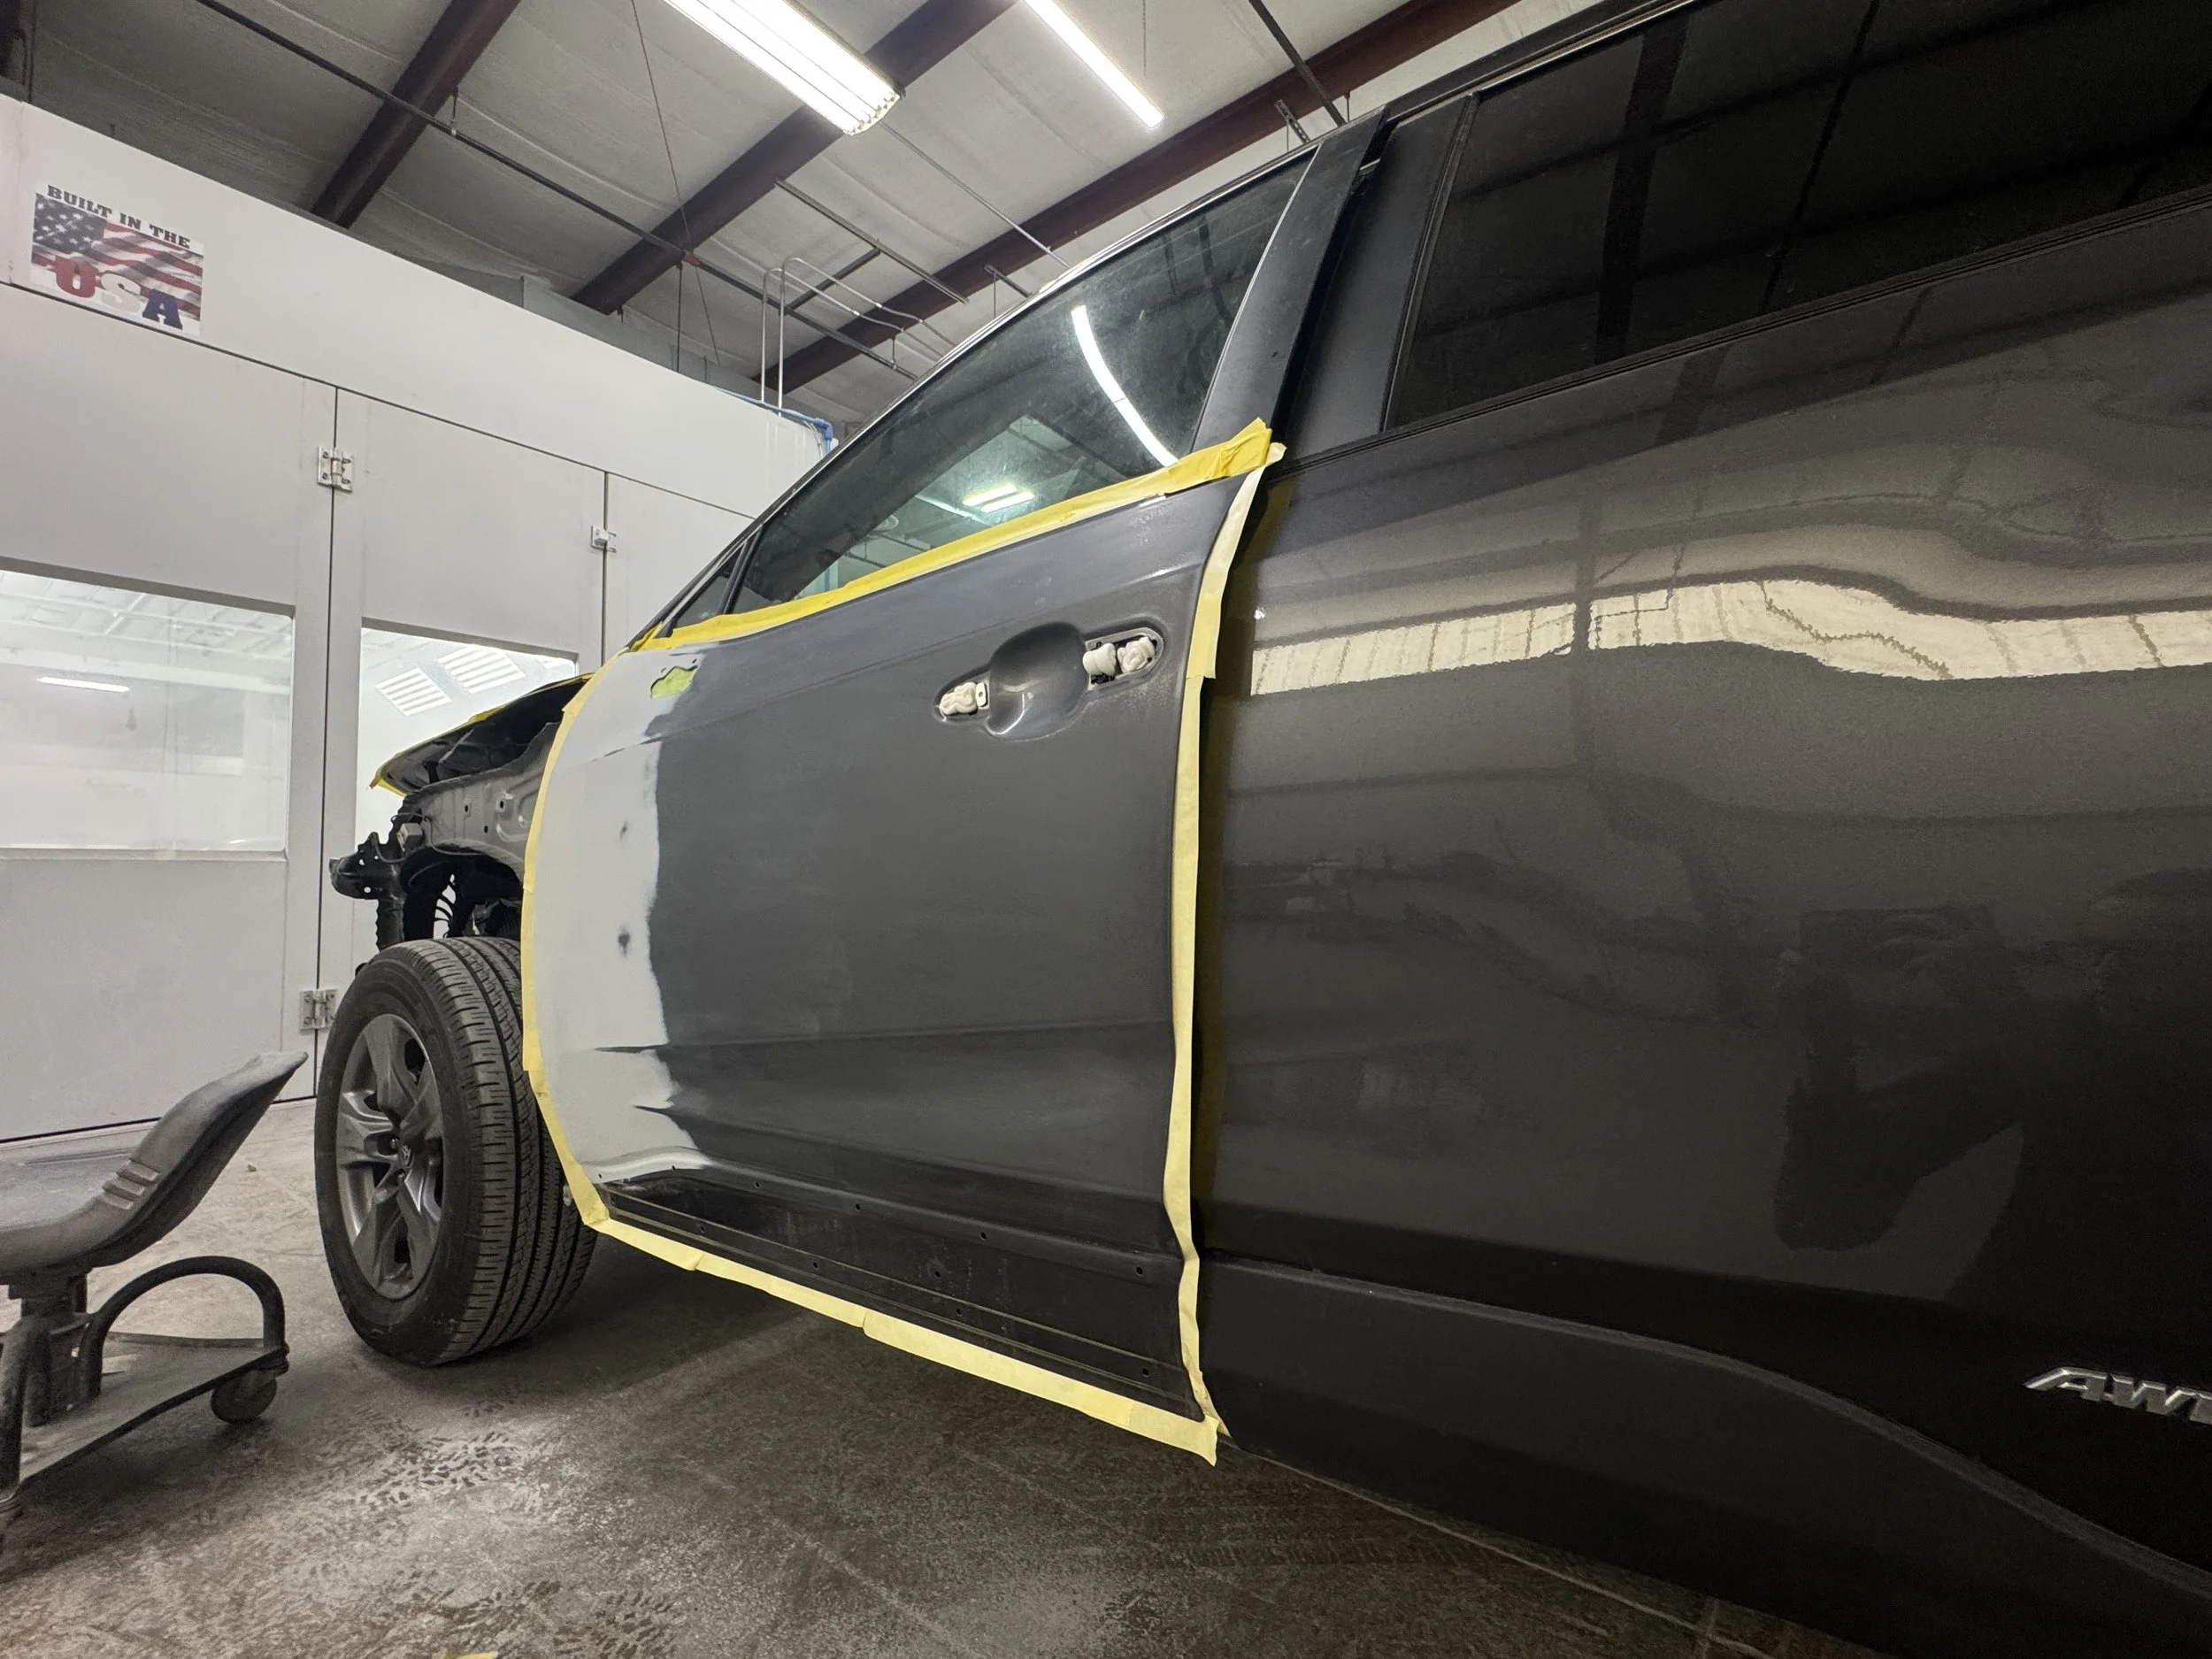
Our team will inspect the completed metal work before the vehicle moves into the paint and refinishing stages. The repaired areas are checked for proper shape, alignment, smoothness, and fit.
If adjustments are needed, they will be completed before the vehicle is prepared for paint. This inspection helps ensure the foundation of the repair is completed correctly.
Step 19: Vehicle Is Prepped For Paint
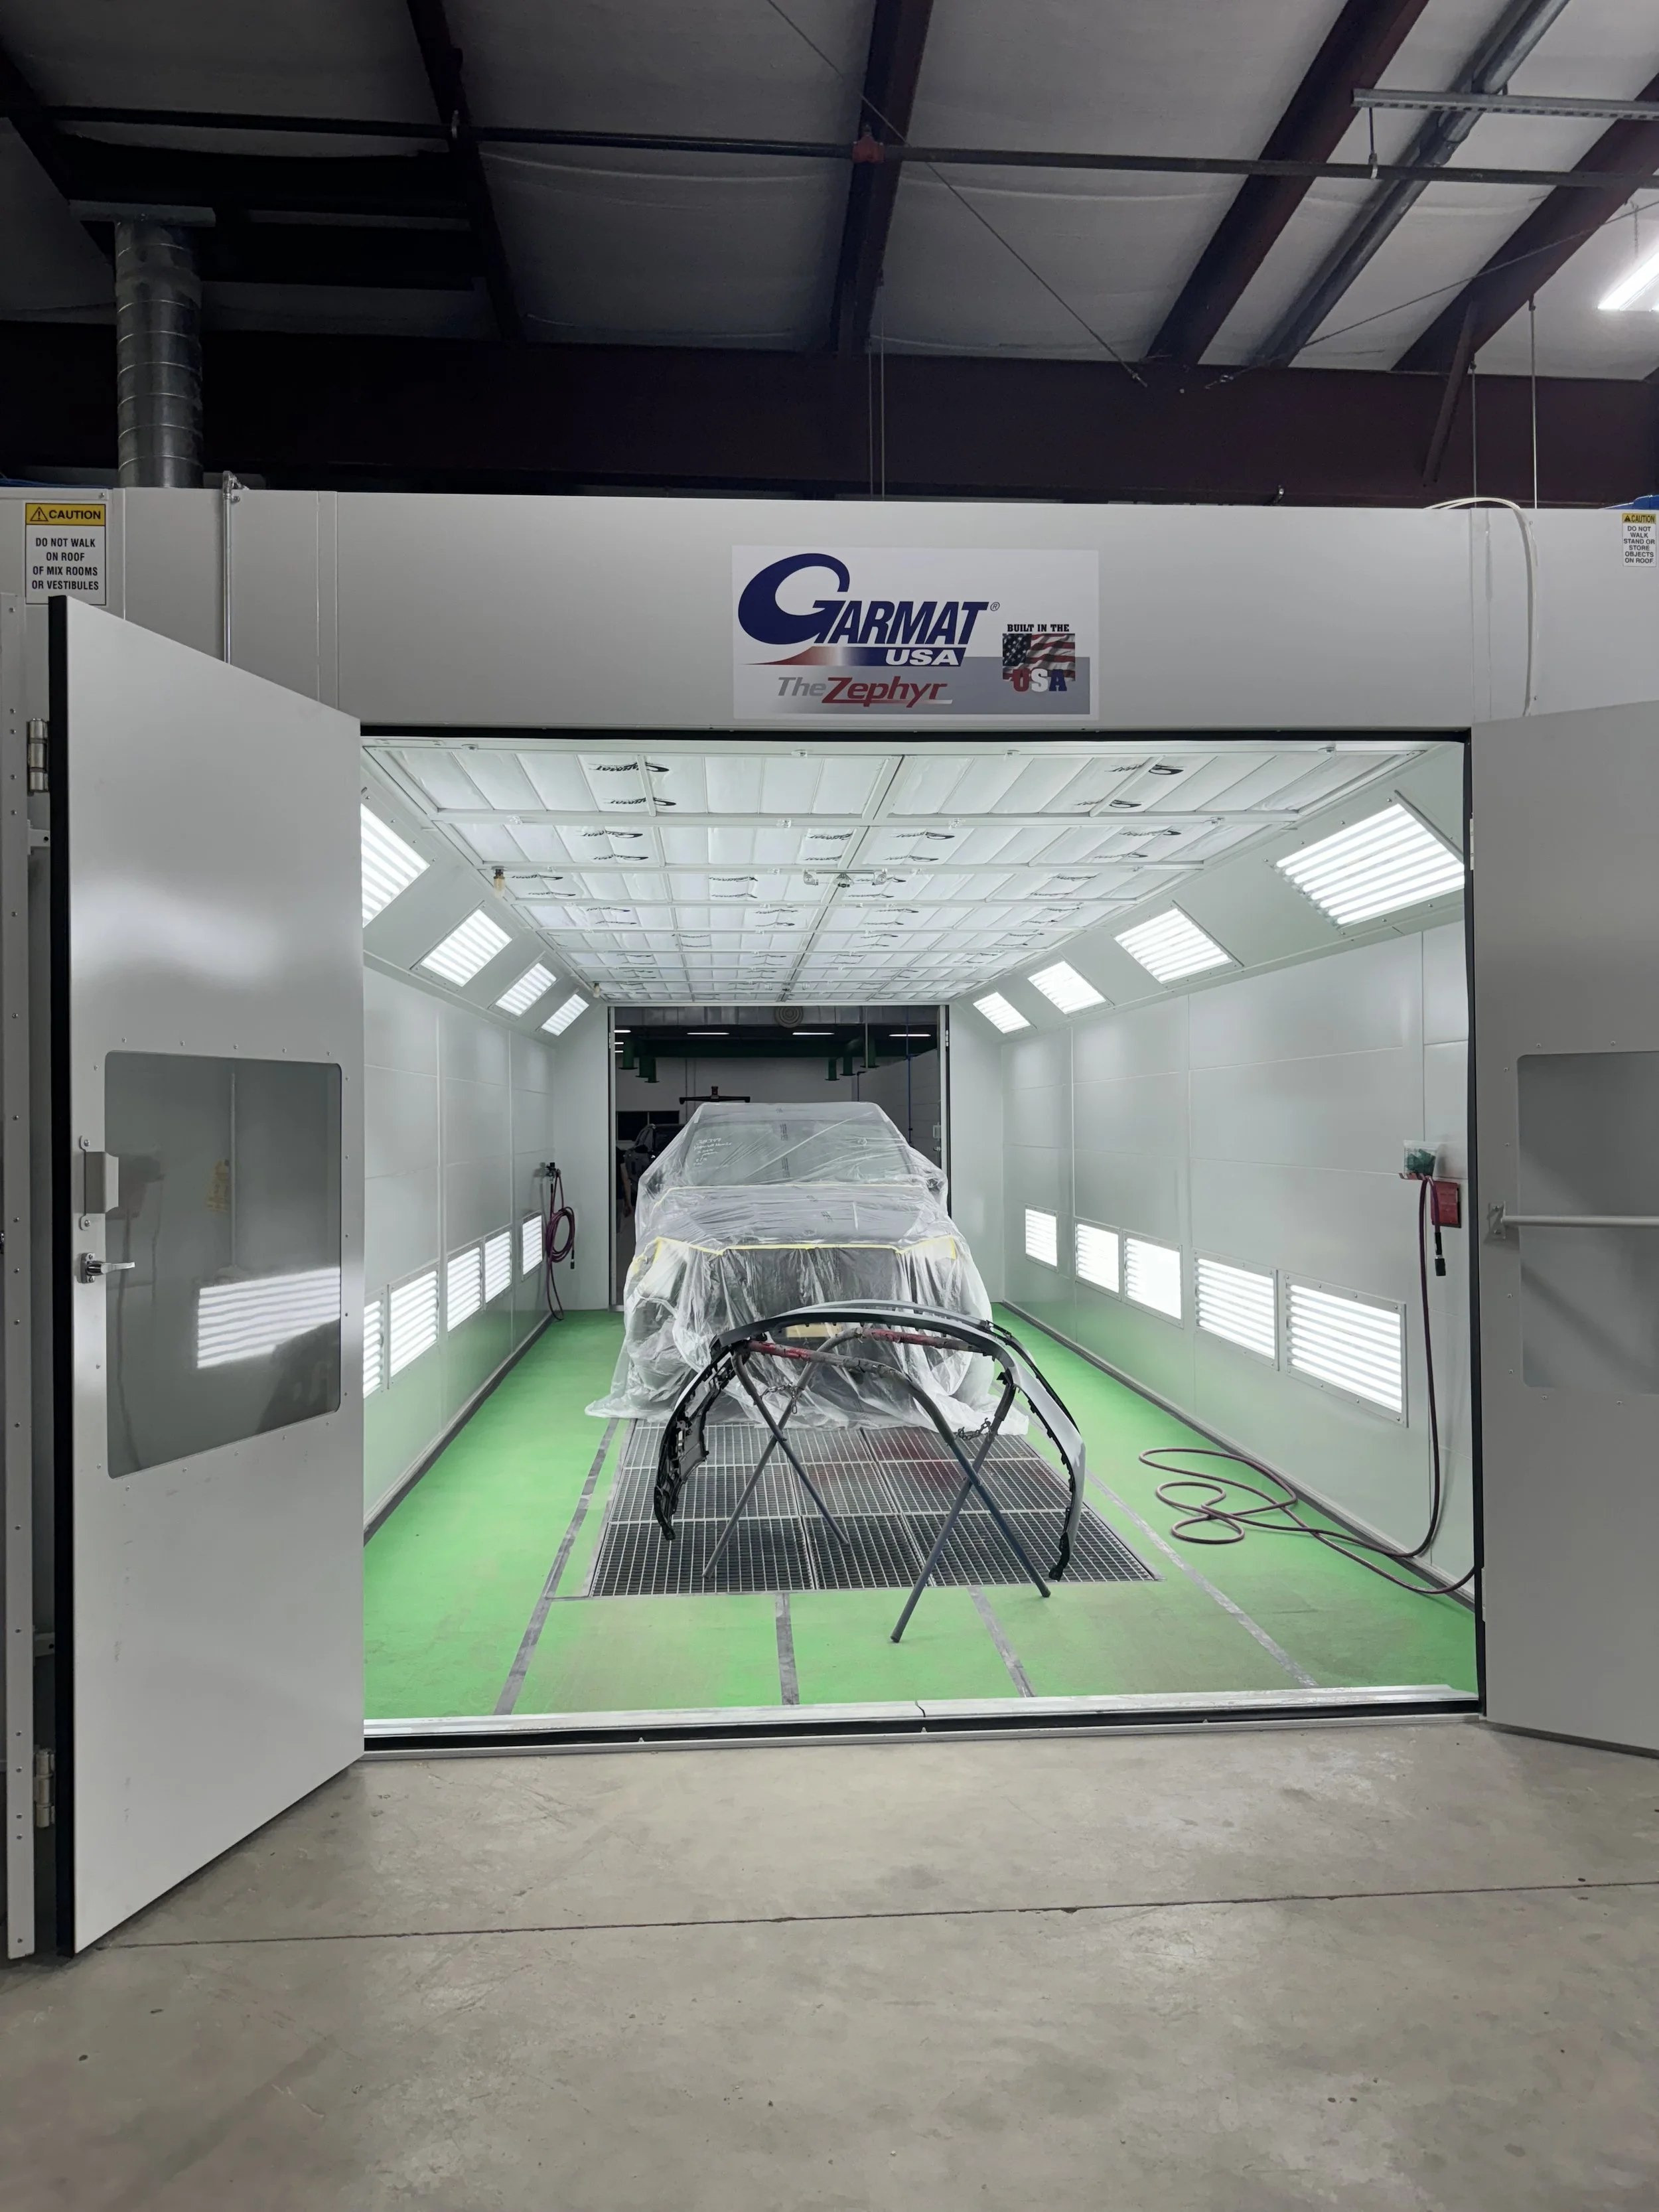
The repaired areas are prepared for the refinishing process. This may include cleaning, sanding, priming, and smoothing the panels so the paint can be applied evenly.
Proper preparation is an important part of achieving a smooth and consistent finish. Our technicians take time to prepare the surface before the vehicle enters the paint booth.
Step 20: Vehicle Is Masked and Taped
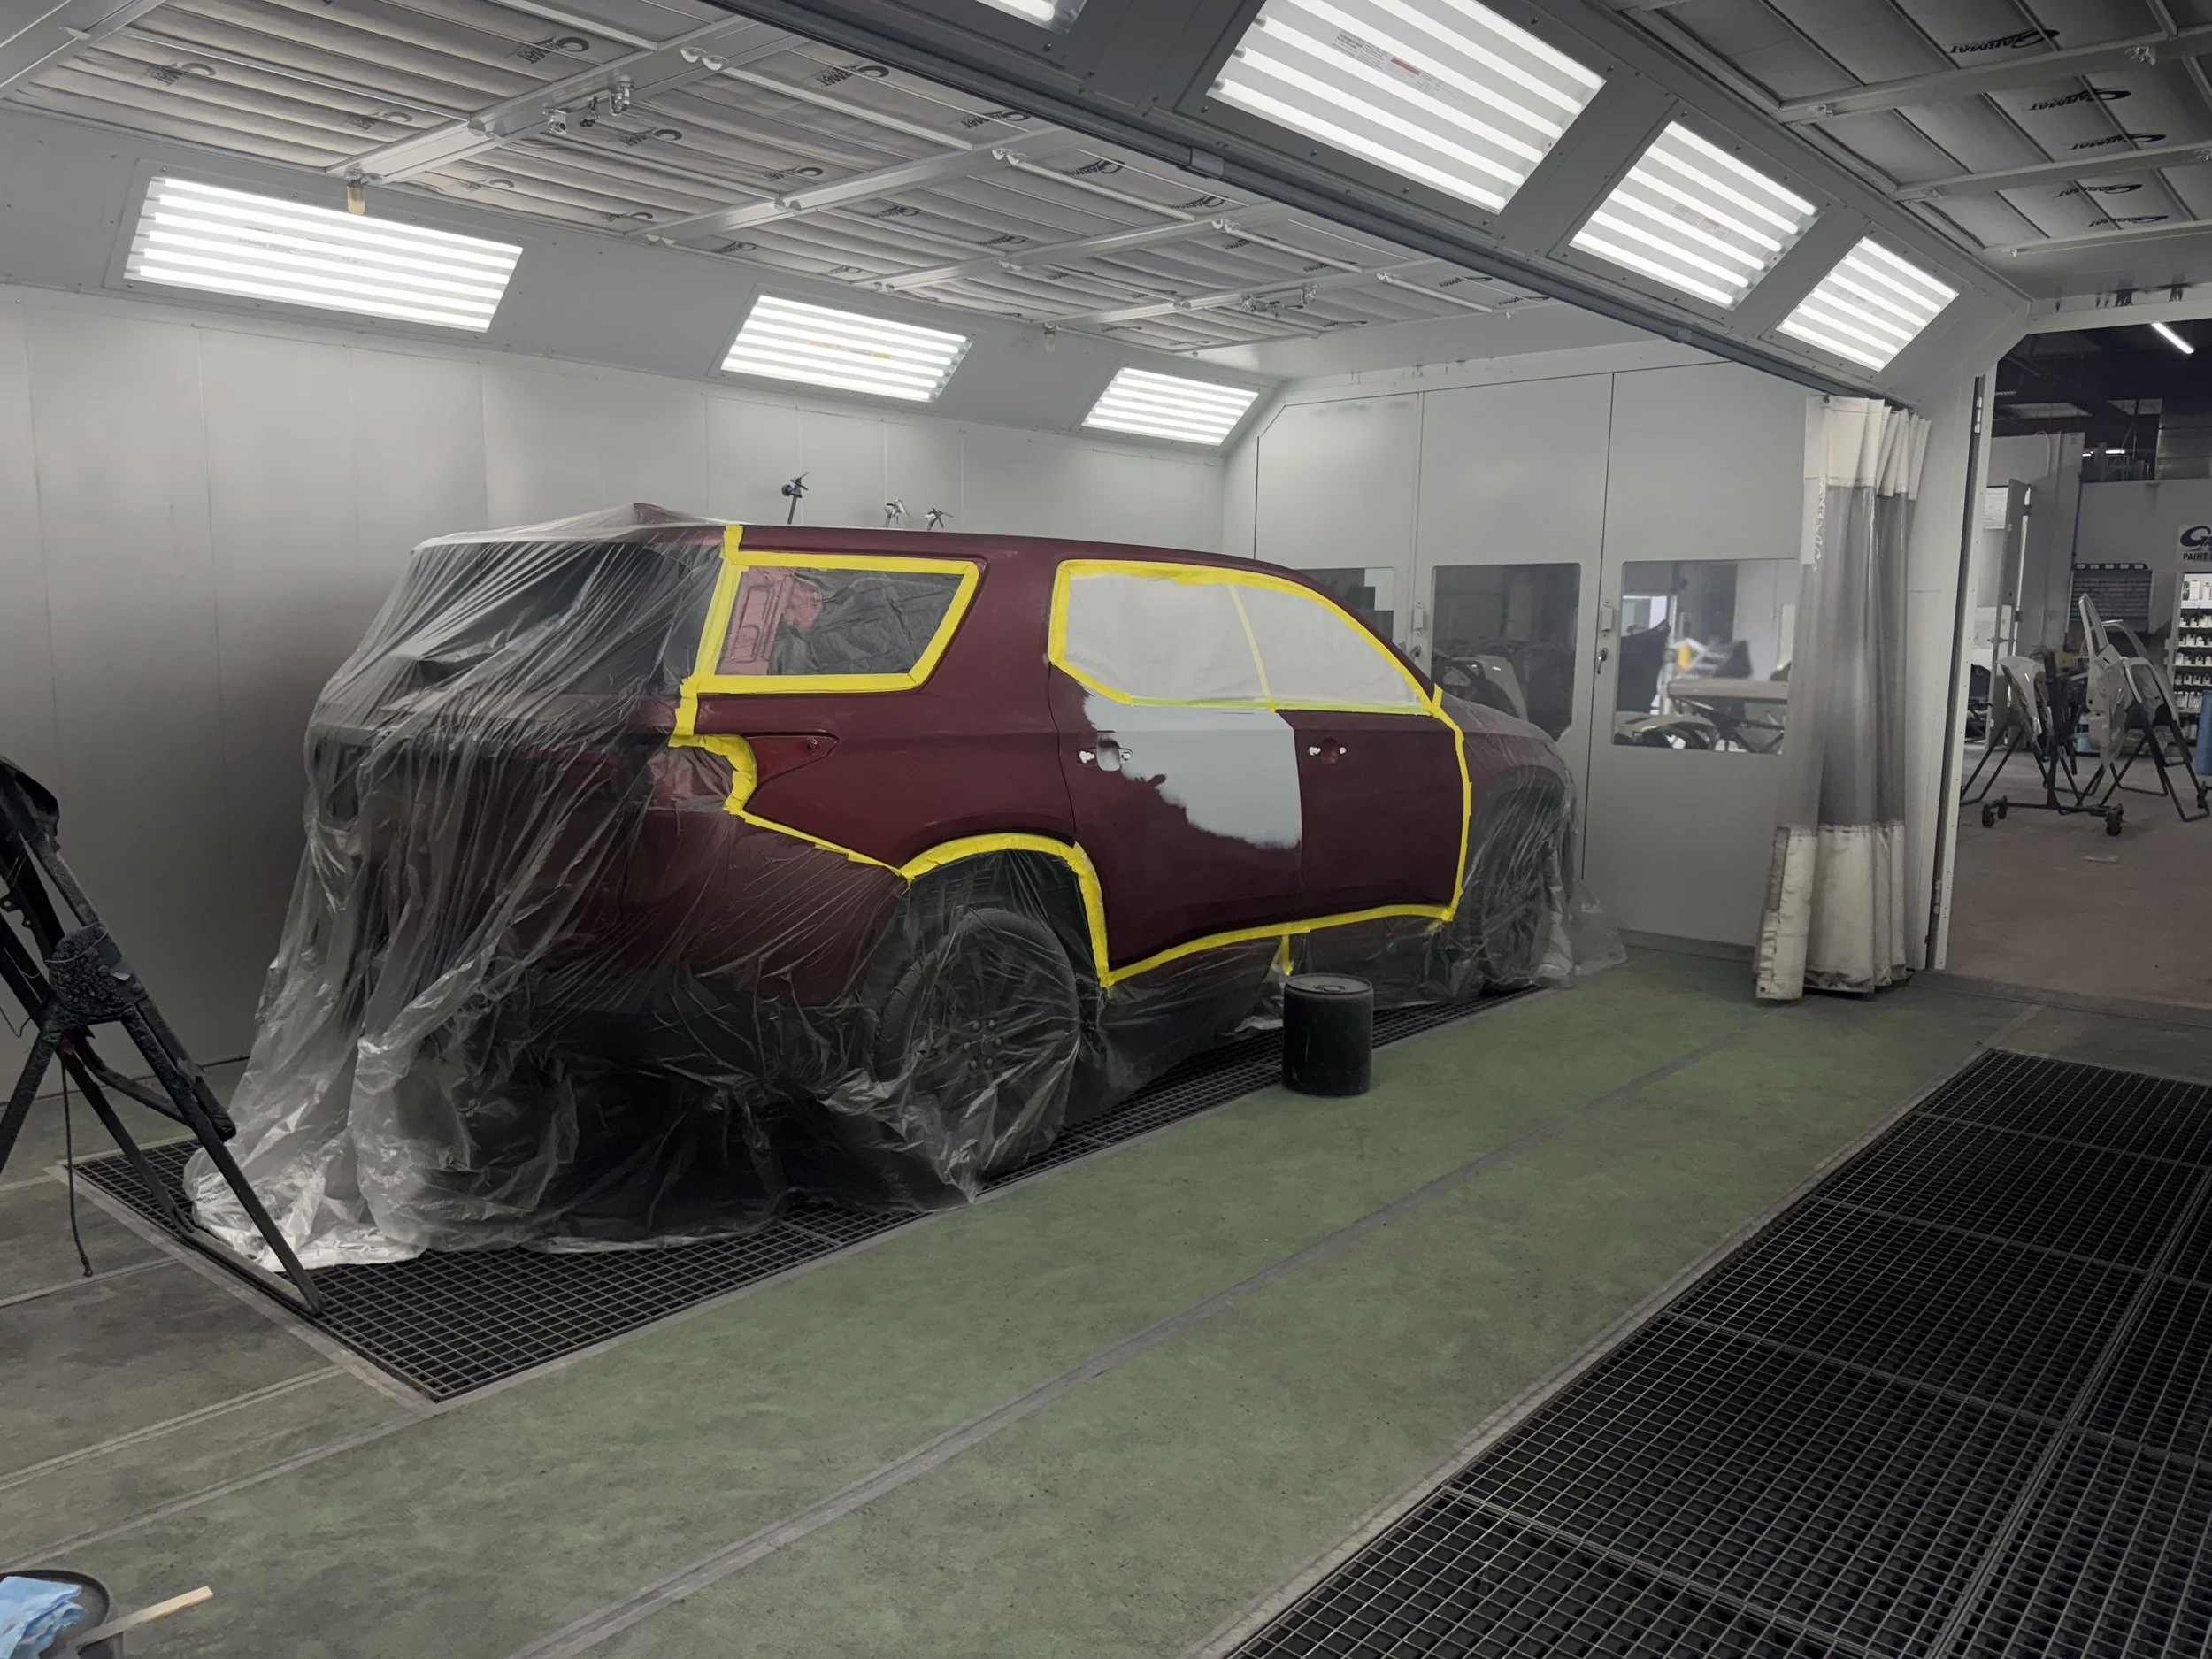
Before painting begins, the vehicle is carefully masked and taped. This protects areas that do not require paint, including windows, trim, lights, tires, and other vehicle components.
Careful masking also helps create clean paint lines and prevents paint or refinishing materials from reaching areas that should remain untouched.
Step 21: Panels Are Cleaned And Prepared
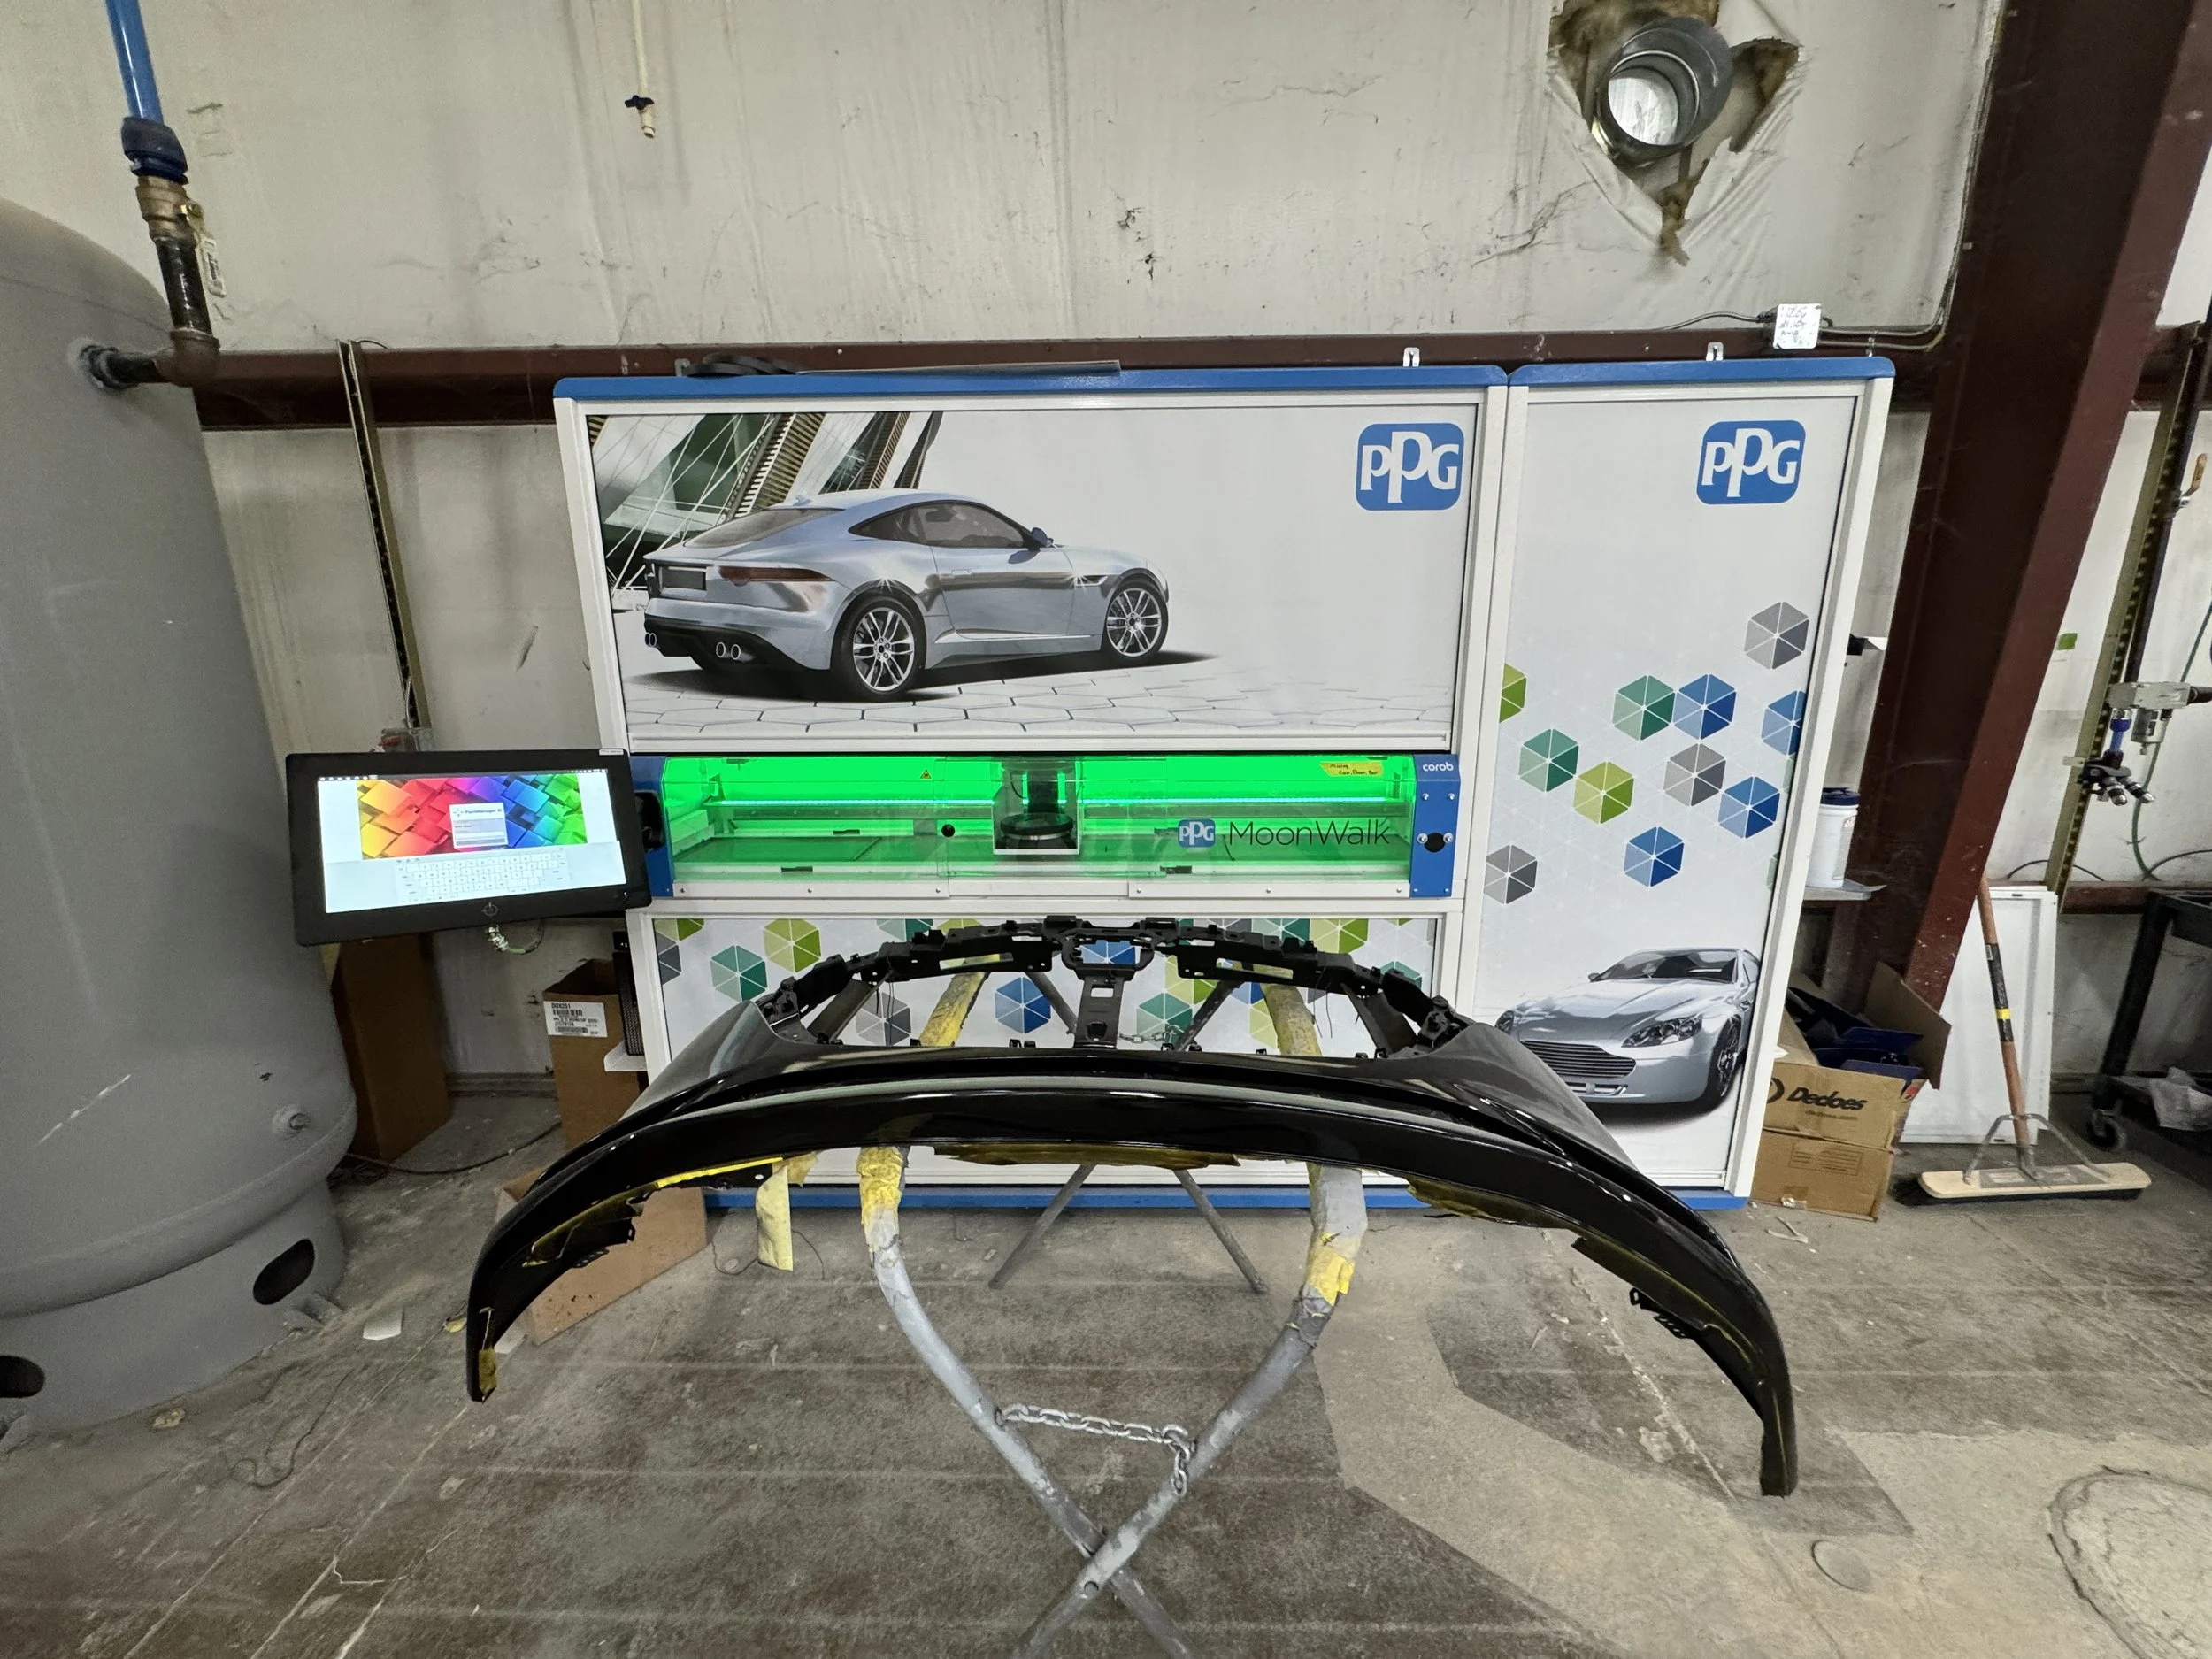
The panels are chemically cleaned and prepared before paint is applied. This removes dust, oils, and other contaminants that could affect the quality of the finish.
Our technicians carefully inspect the surfaces one more time before painting. Preparing the panels properly helps the paint adhere correctly and creates a smooth final appearance.
Step 22: Vehicle Goes Into Refinishing Process
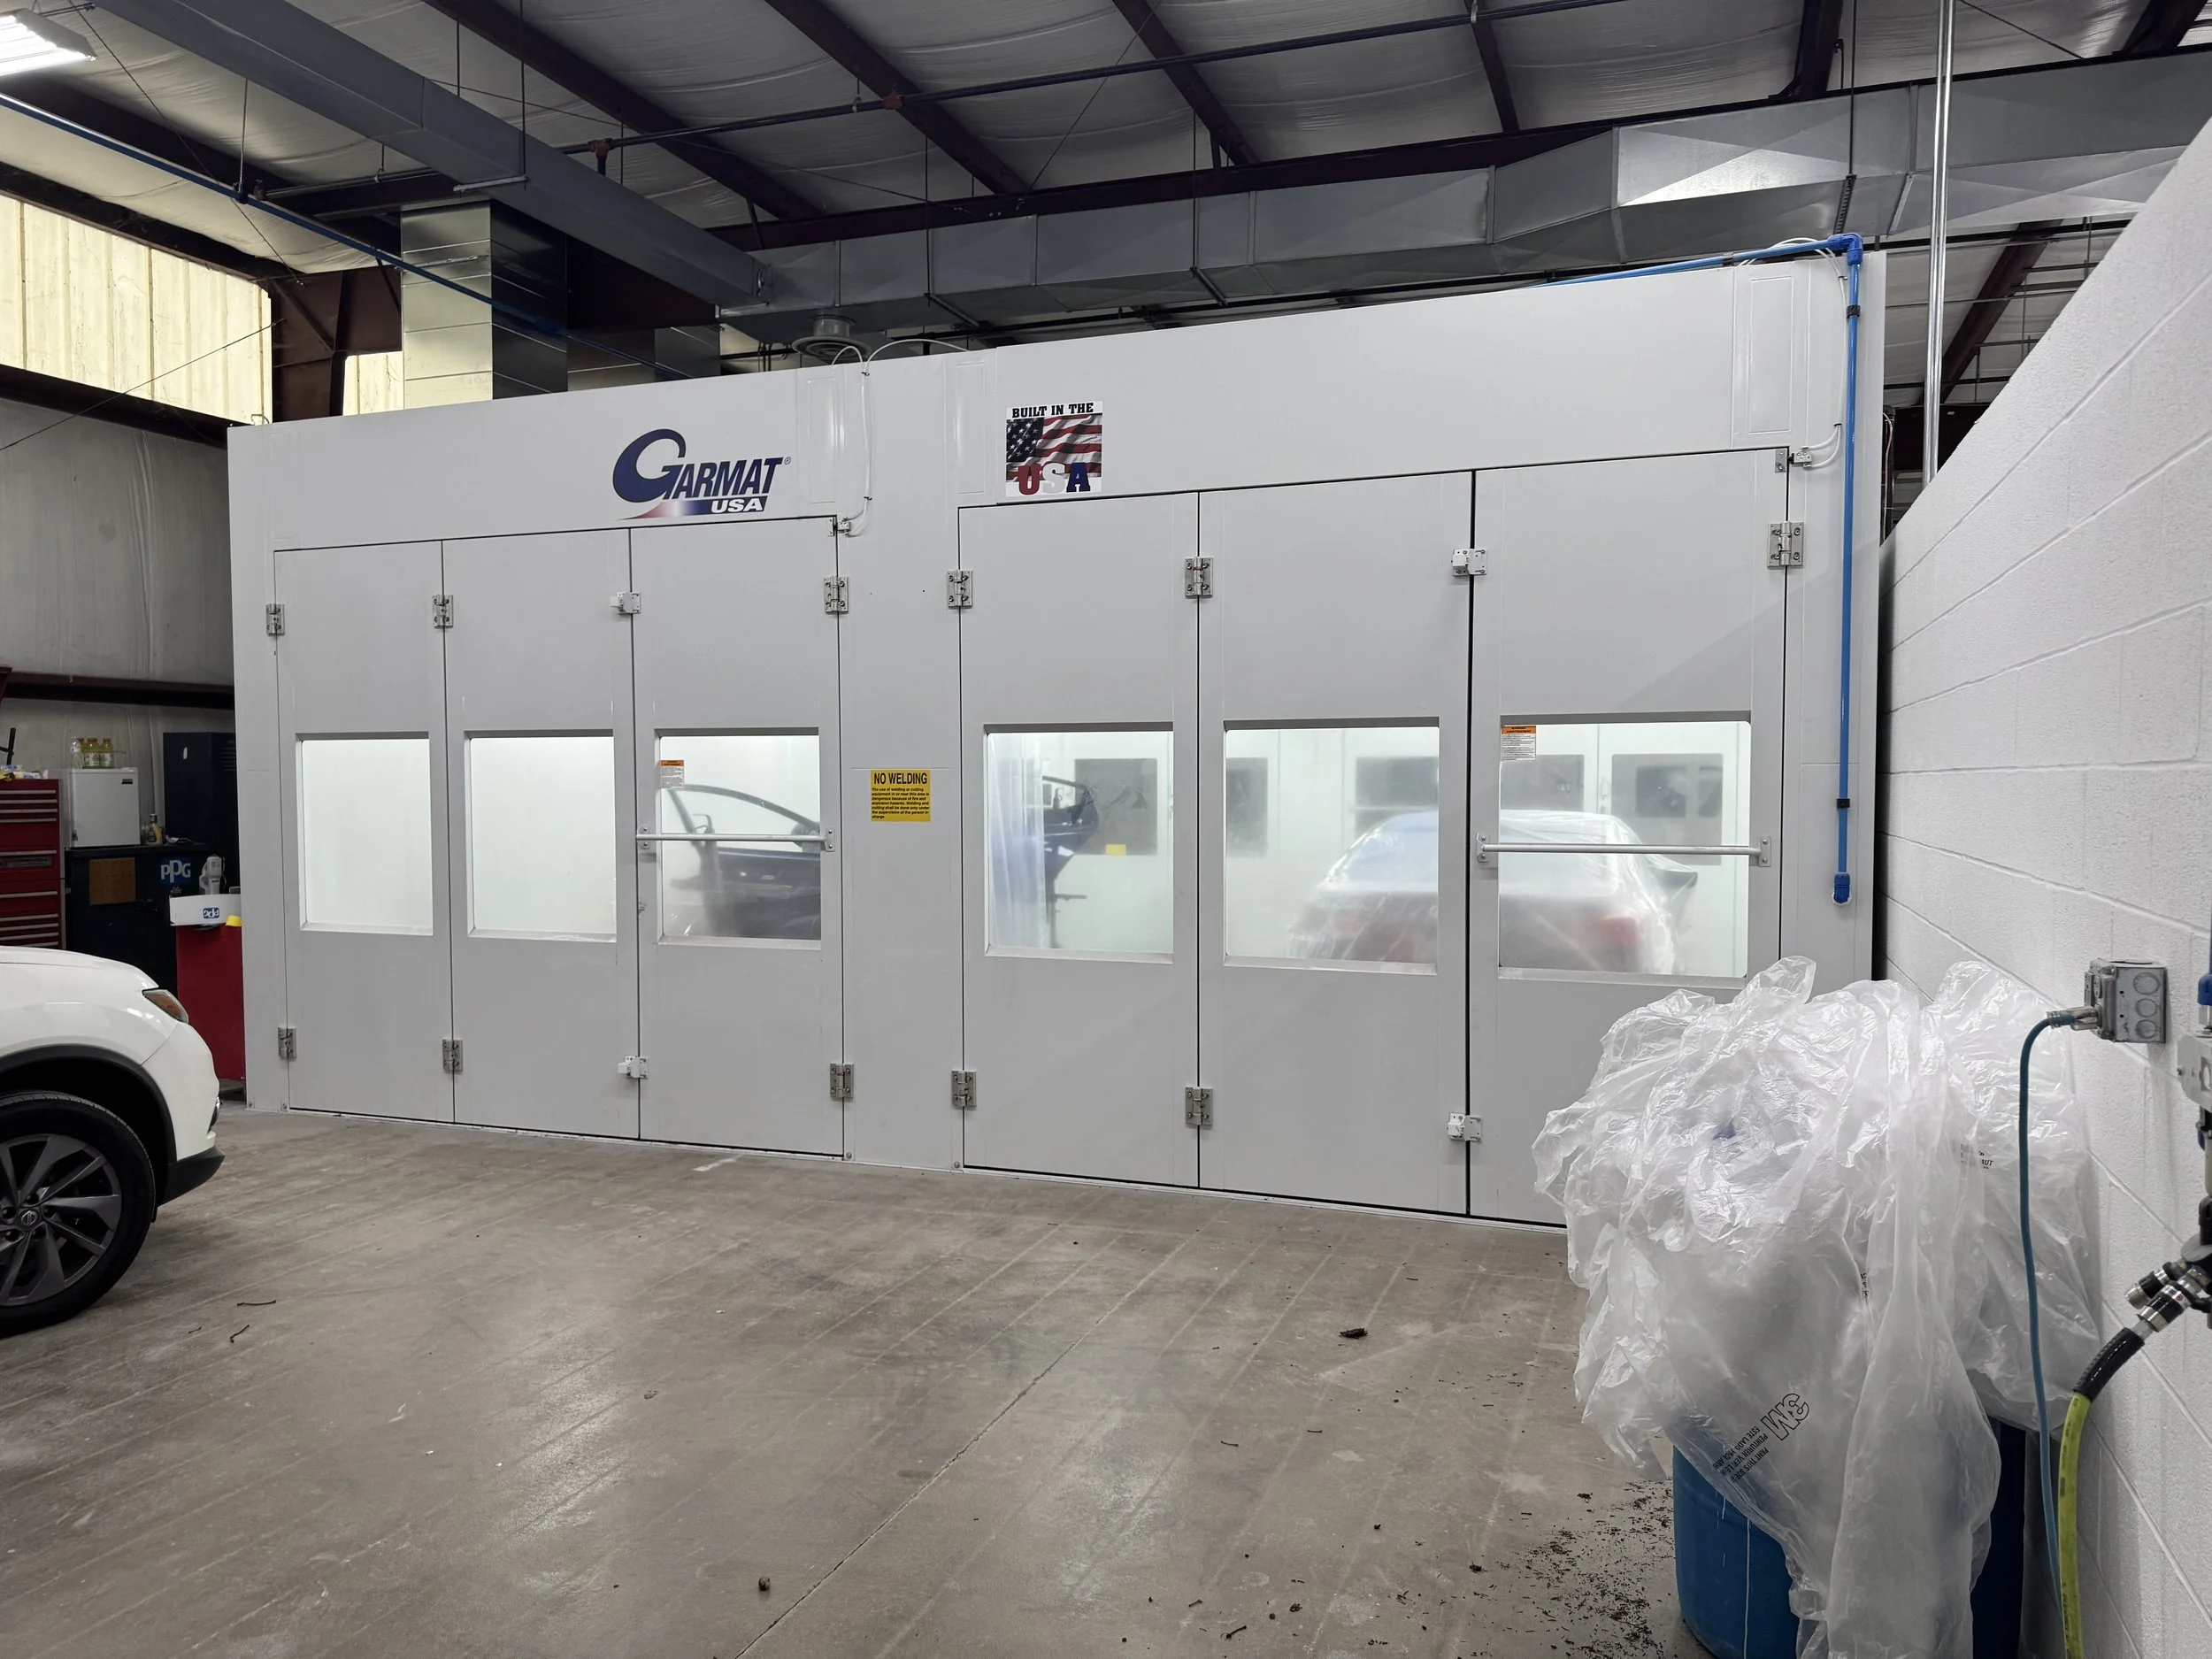
The repaired areas are prepared for the refinishing process. This may include cleaning, sanding, priming, and smoothing the panels so the paint can be applied evenly.
Proper preparation is an important part of achieving a smooth and consistent finish. Our technicians take time to prepare the surface before the vehicle enters the paint booth.
Step 23: Vehicle Is Reassembled and Inspected
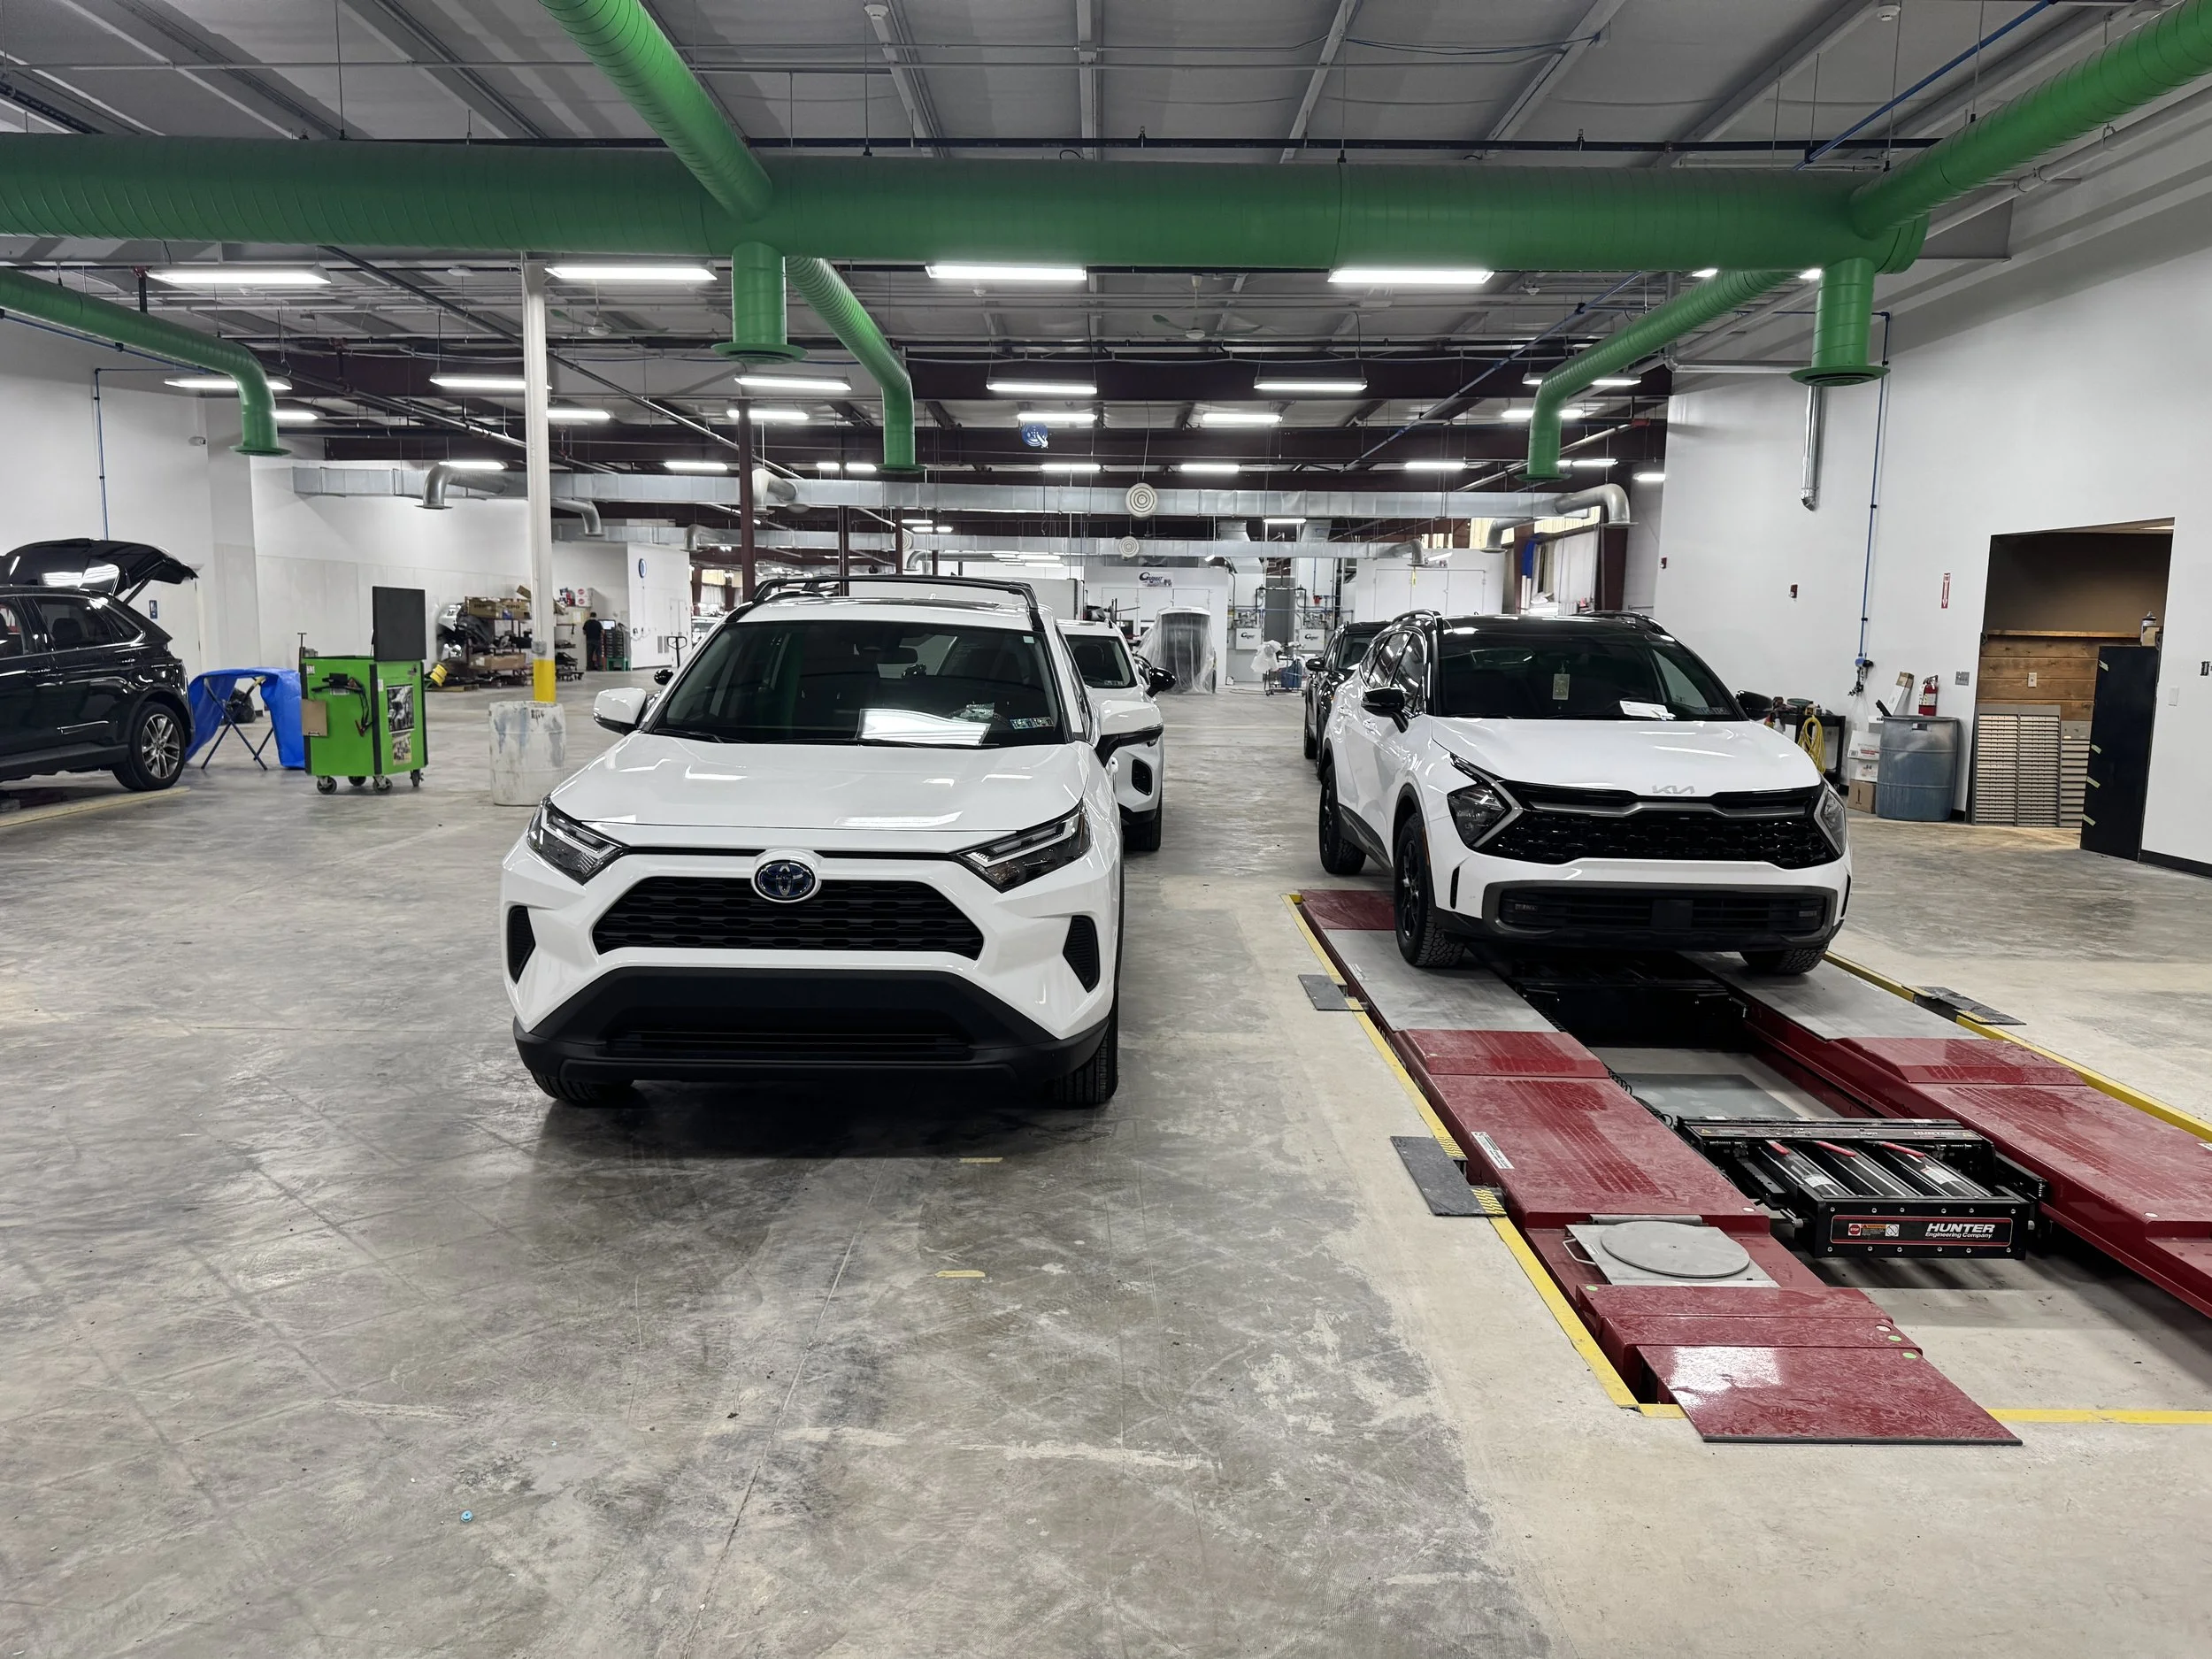
After the refinishing work is complete, the vehicle is reassembled. This may include reinstalling lights, trim, moldings, bumpers, panels, and other components that were removed during the repair.
Our team will inspect the vehicle’s alignment, air conditioning, operation, appearance, and overall repair quality. A final test drive may also be completed to help confirm that the vehicle is ready for delivery.
Step 24: Final Inspection and Delivery
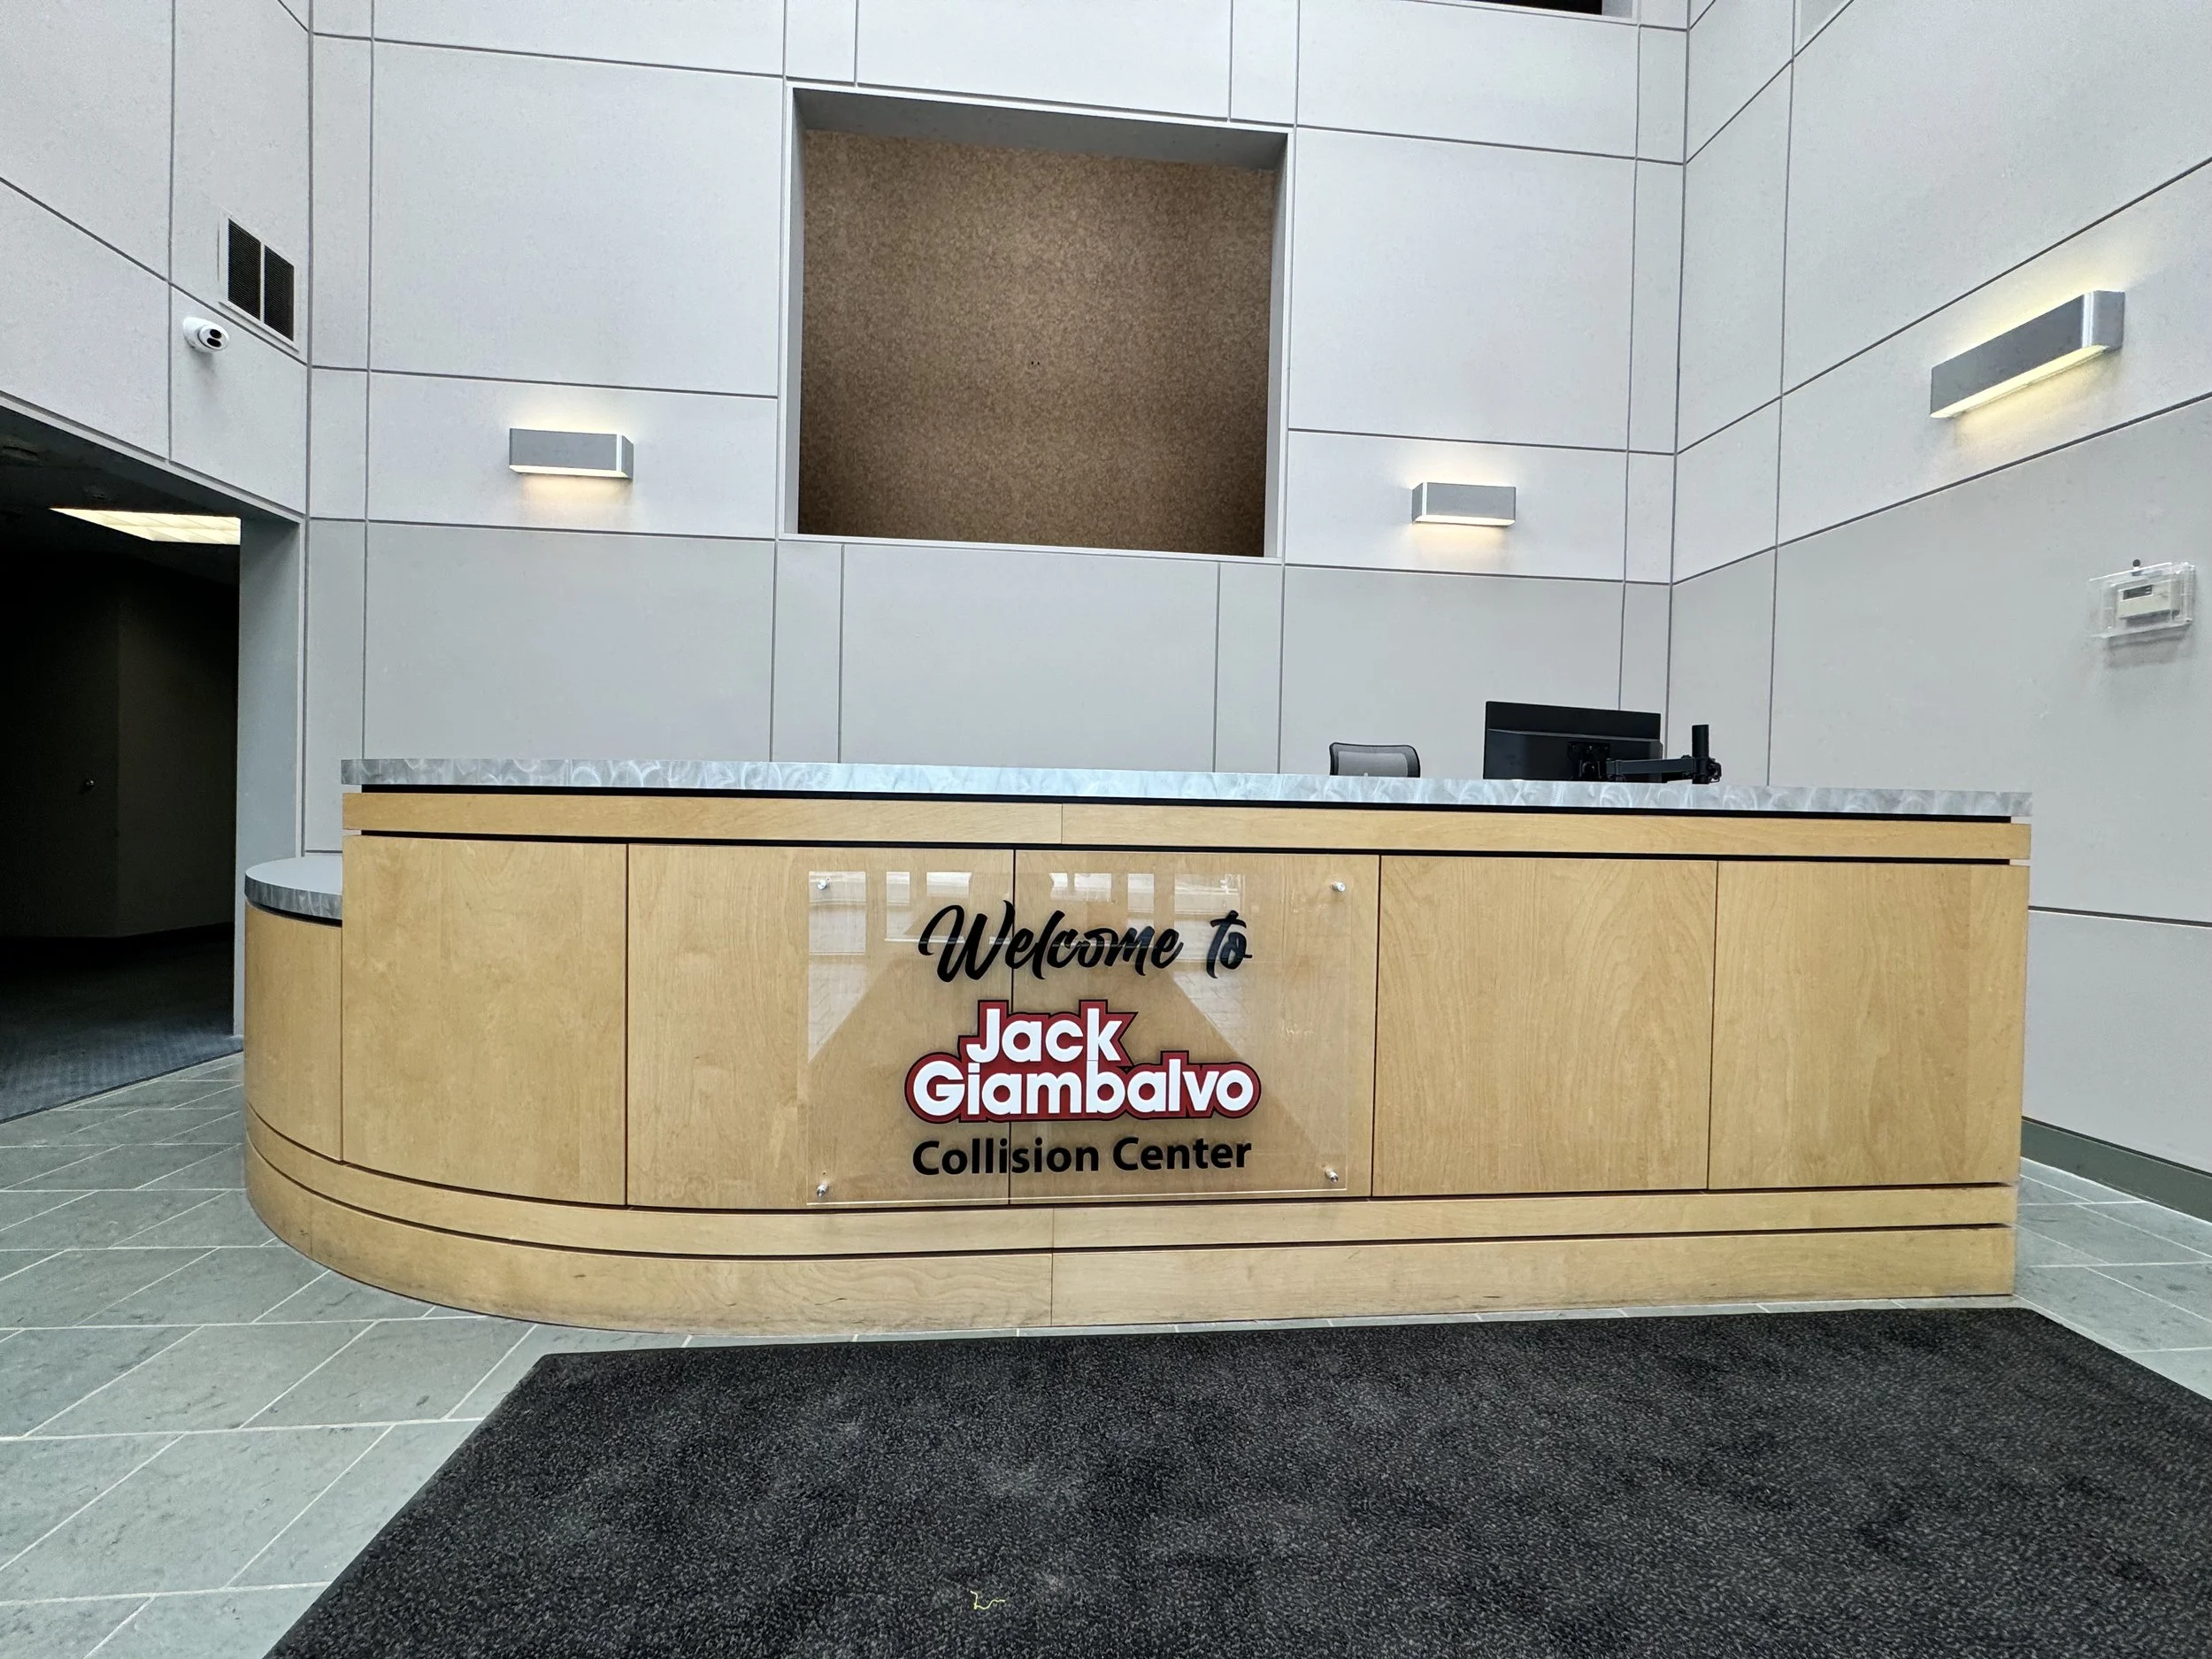
Before your vehicle is returned, our team completes a final inspection of the repair work. We review the body panels, paint finish, vehicle operation, cleanliness, and any other areas included in the repair plan.
Once the repair is complete, we will contact you with the confirmed delivery date. When you pick up your vehicle, we will review the completed repairs and answer any final questions you may have.
Disclaimer: Repair timelines and processes vary depending on the extent of the damage, parts availability, insurance approvals, and any additional damage discovered during disassembly. Any completion date provided is an estimate and may change as the repair progresses. Additional repairs may require a supplemental estimate and authorization. Insurance coverage, deductibles, and claim decisions are determined by your insurance policy and insurance provider.